
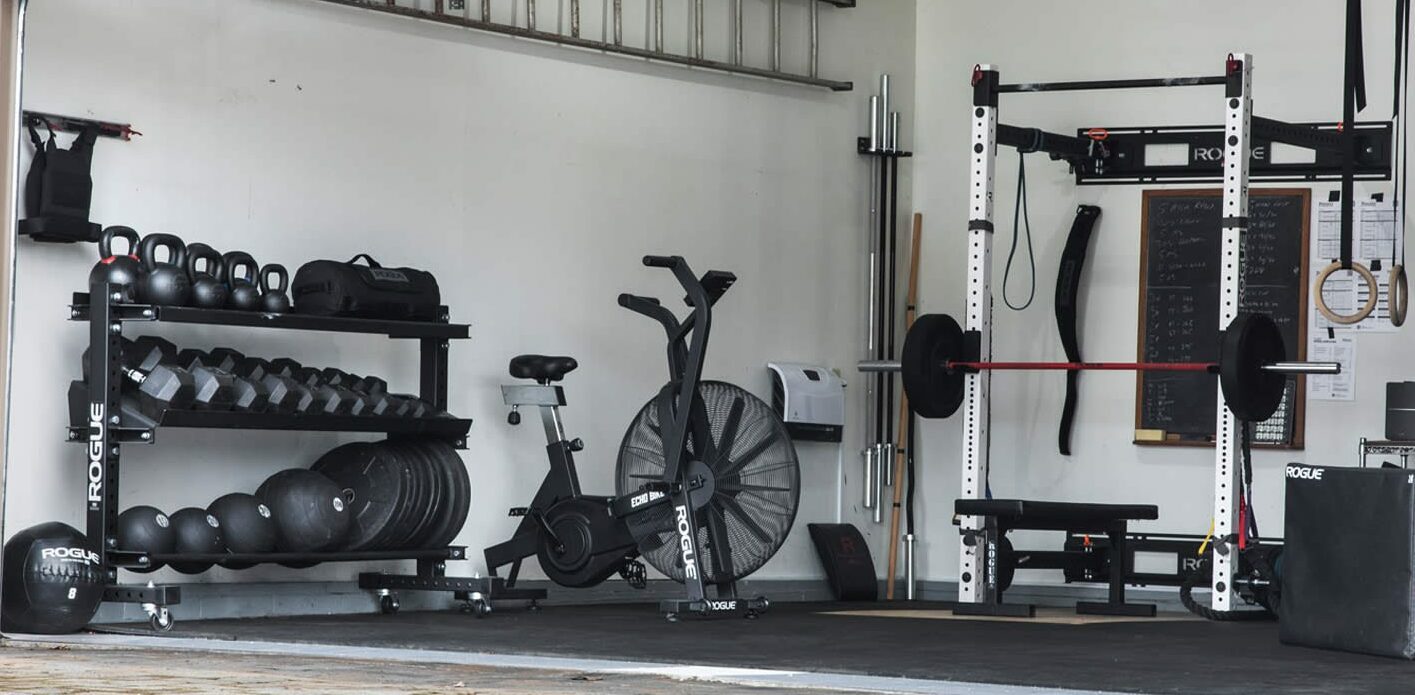
Hello there! Ready to ditch the crowded gym scene and build your own badass workout space? You’re in the right spot.
In this guide, we’ll start by figuring out the perfect spot in your home. Then, we’ll talk about matching your gym to your workout style and how to make it all work within your budget.
We’ll progress through the essential equipment to start with and discuss how to smartly expand your arsenal over time.
Plus, I’ll throw in some pro tips and common pitfalls to avoid, making sure you’re set up for success.
Let’s get started!
Before You Buy Another Piece of Gym Equipment, Score It First.
Run the purchase through two hard stops and eight practical checks for space, training value, budget, overlap, and long-term usefulness.
Steps To Building A Home Gym
Building a home gym is like putting together the ultimate adult fitness playground. It’s exciting, a bit daunting, but oh-so rewarding. Let’s break it down into manageable steps.
Determine Gym Space
First things first, where’s this fitness fortress going to be? Your garage, a spare room, or maybe a section of your basement?
The space you choose will dictate a lot about what equipment you can have.
Measure it out, think about ceiling height (for those overhead presses and pull-ups), and consider the floor strength (especially if you’re planning to drop heavy weights).
Consider Your Style Of Training
Are you a powerlifter, a bodybuilder, or just looking to stay fit? Your training style is crucial in deciding what equipment you need.
Powerlifters might want a beefy power rack and a deadlift platform, while a general fitness enthusiast might prefer a more diverse range of equipment like kettlebells, dumbbells, and maybe a cardio machine.
Factor In Your Budget
Let’s talk money. You don’t need to break the bank to build a decent home gym. Start with the essentials and build up over time.
Remember, quality over quantity. It’s better to have a few pieces of solid, reliable equipment than a room full of stuff that falls apart in a month.
Step 1 – Start Small
Starting your home gym doesn’t mean going all out from day one. It’s a journey, and a great place to begin is with the most important pieces.
Those include a barbell, weight plates, a power rack, and a bench of some kind.
I’ll cover what to look for in each as well as my recommendations for the most common options.
Barbell
A barbell is the king of the gym for a reason, no other piece of home gym equipment is as versatile and valuable as a solid barbell.
But you’ll also need to invest in solid barbell collars if they aren’t included with the bar you decide on.
Here’s how to pick the right barbell first, and then I’ll recommend some collars after.
- Type Of Bar – There are a few different types of barbells out there. The most common is a multipurpose bar, ideal for a variety of lifts. If you’re into powerlifting, consider a powerlifting bar, which is stiffer and has a center knurl. For weightlifting, a weightlifting bar with more whip and no center knurl is your go-to.
- Tensile Strength – This is a biggie. Tensile strength tells you how much load the bar can handle before it bends or breaks. Measured in pounds per square inch (PSI), you’ll want a bar with at least 180,000 PSI for durability and longevity.
- Knurling – Knurling is all about grip. It’s the etched pattern on the bar. Some bars have aggressive knurling for a super firm grip, while others are more moderate. Think about your preference and the type of lifting you do. For example, if you have sensitive hands or do high-rep workouts, a less aggressive knurl might be better.
- Finish – The finish of the bar affects both its look and its longevity. Options include bare steel, black oxide, zinc, and stainless steel. Bare steel offers a great feel but rusts easily. Stainless steel, on the other hand, is rust-resistant and has a nice feel but can be pricier.
- Price – When it comes to the price range for barbells, it can vary quite a bit based on quality, brand, and specific features. Here’s a general idea:
- Entry-Level Barbells – These typically range from $100 to $200. They’re a good starting point for beginners or those on a tight budget. However, they might lack in areas like tensile strength and finish quality.
- Mid-Range Barbells – Expect to pay between $200 and $400 for these. This range usually offers a good balance of quality and price, suitable for most home gym owners. They often feature better construction, higher tensile strength, and more finish options.
- High-End Barbells – These can cost anywhere from $400 to $1,000 or more. These barbells are typically geared towards serious lifters or professionals. They boast top-tier materials, excellent tensile strength, superior finish, and often specific design features for powerlifting or weightlifting.
Choosing the right barbell is like picking your trusty sword for battle – it’s a personal and crucial decision.
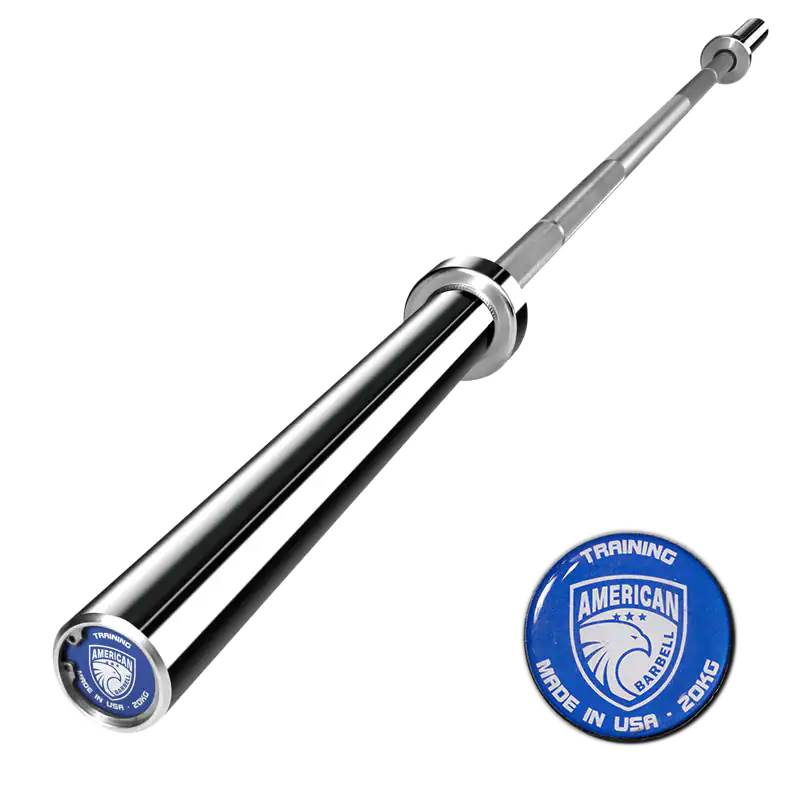
To help you out, I’ve compiled a list of top-notch barbells that cater to different needs and preferences.
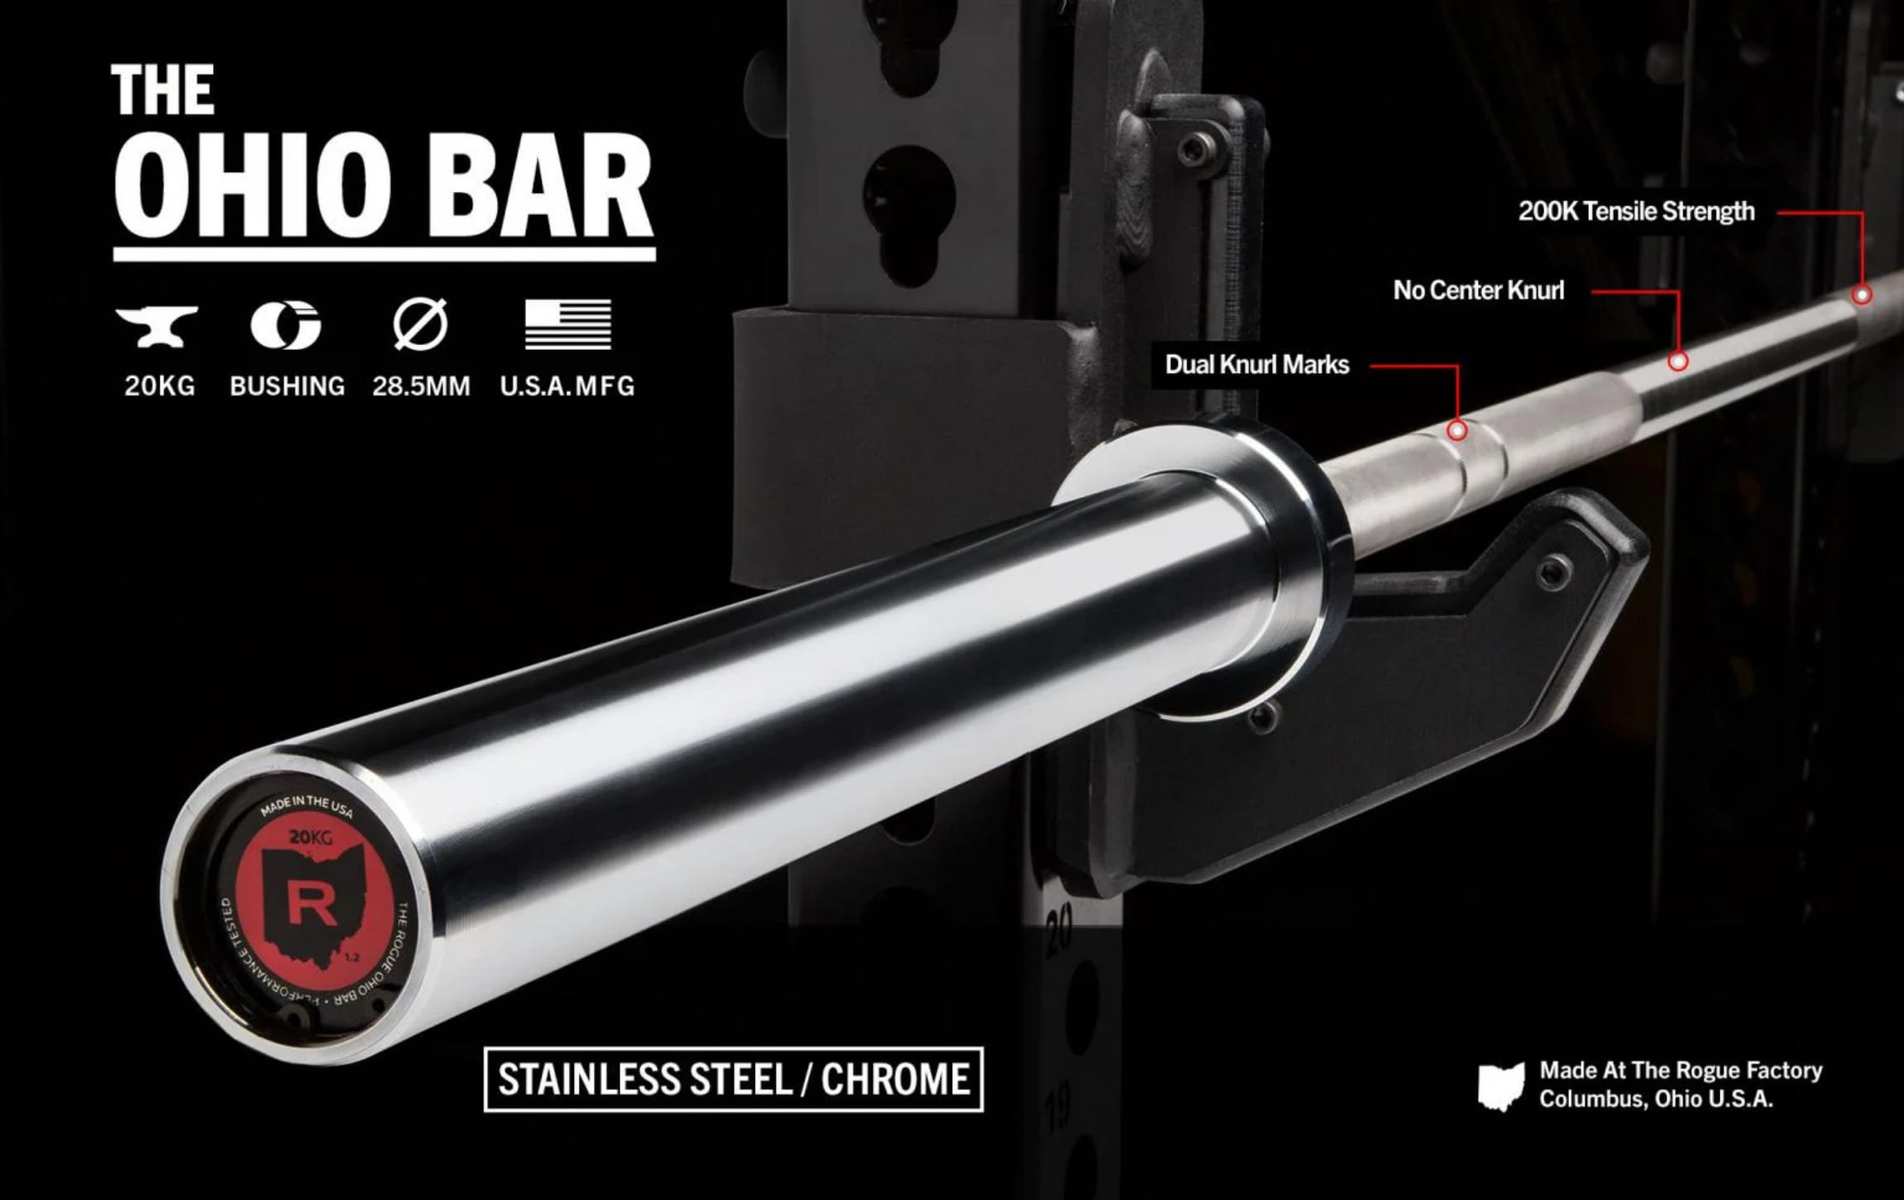
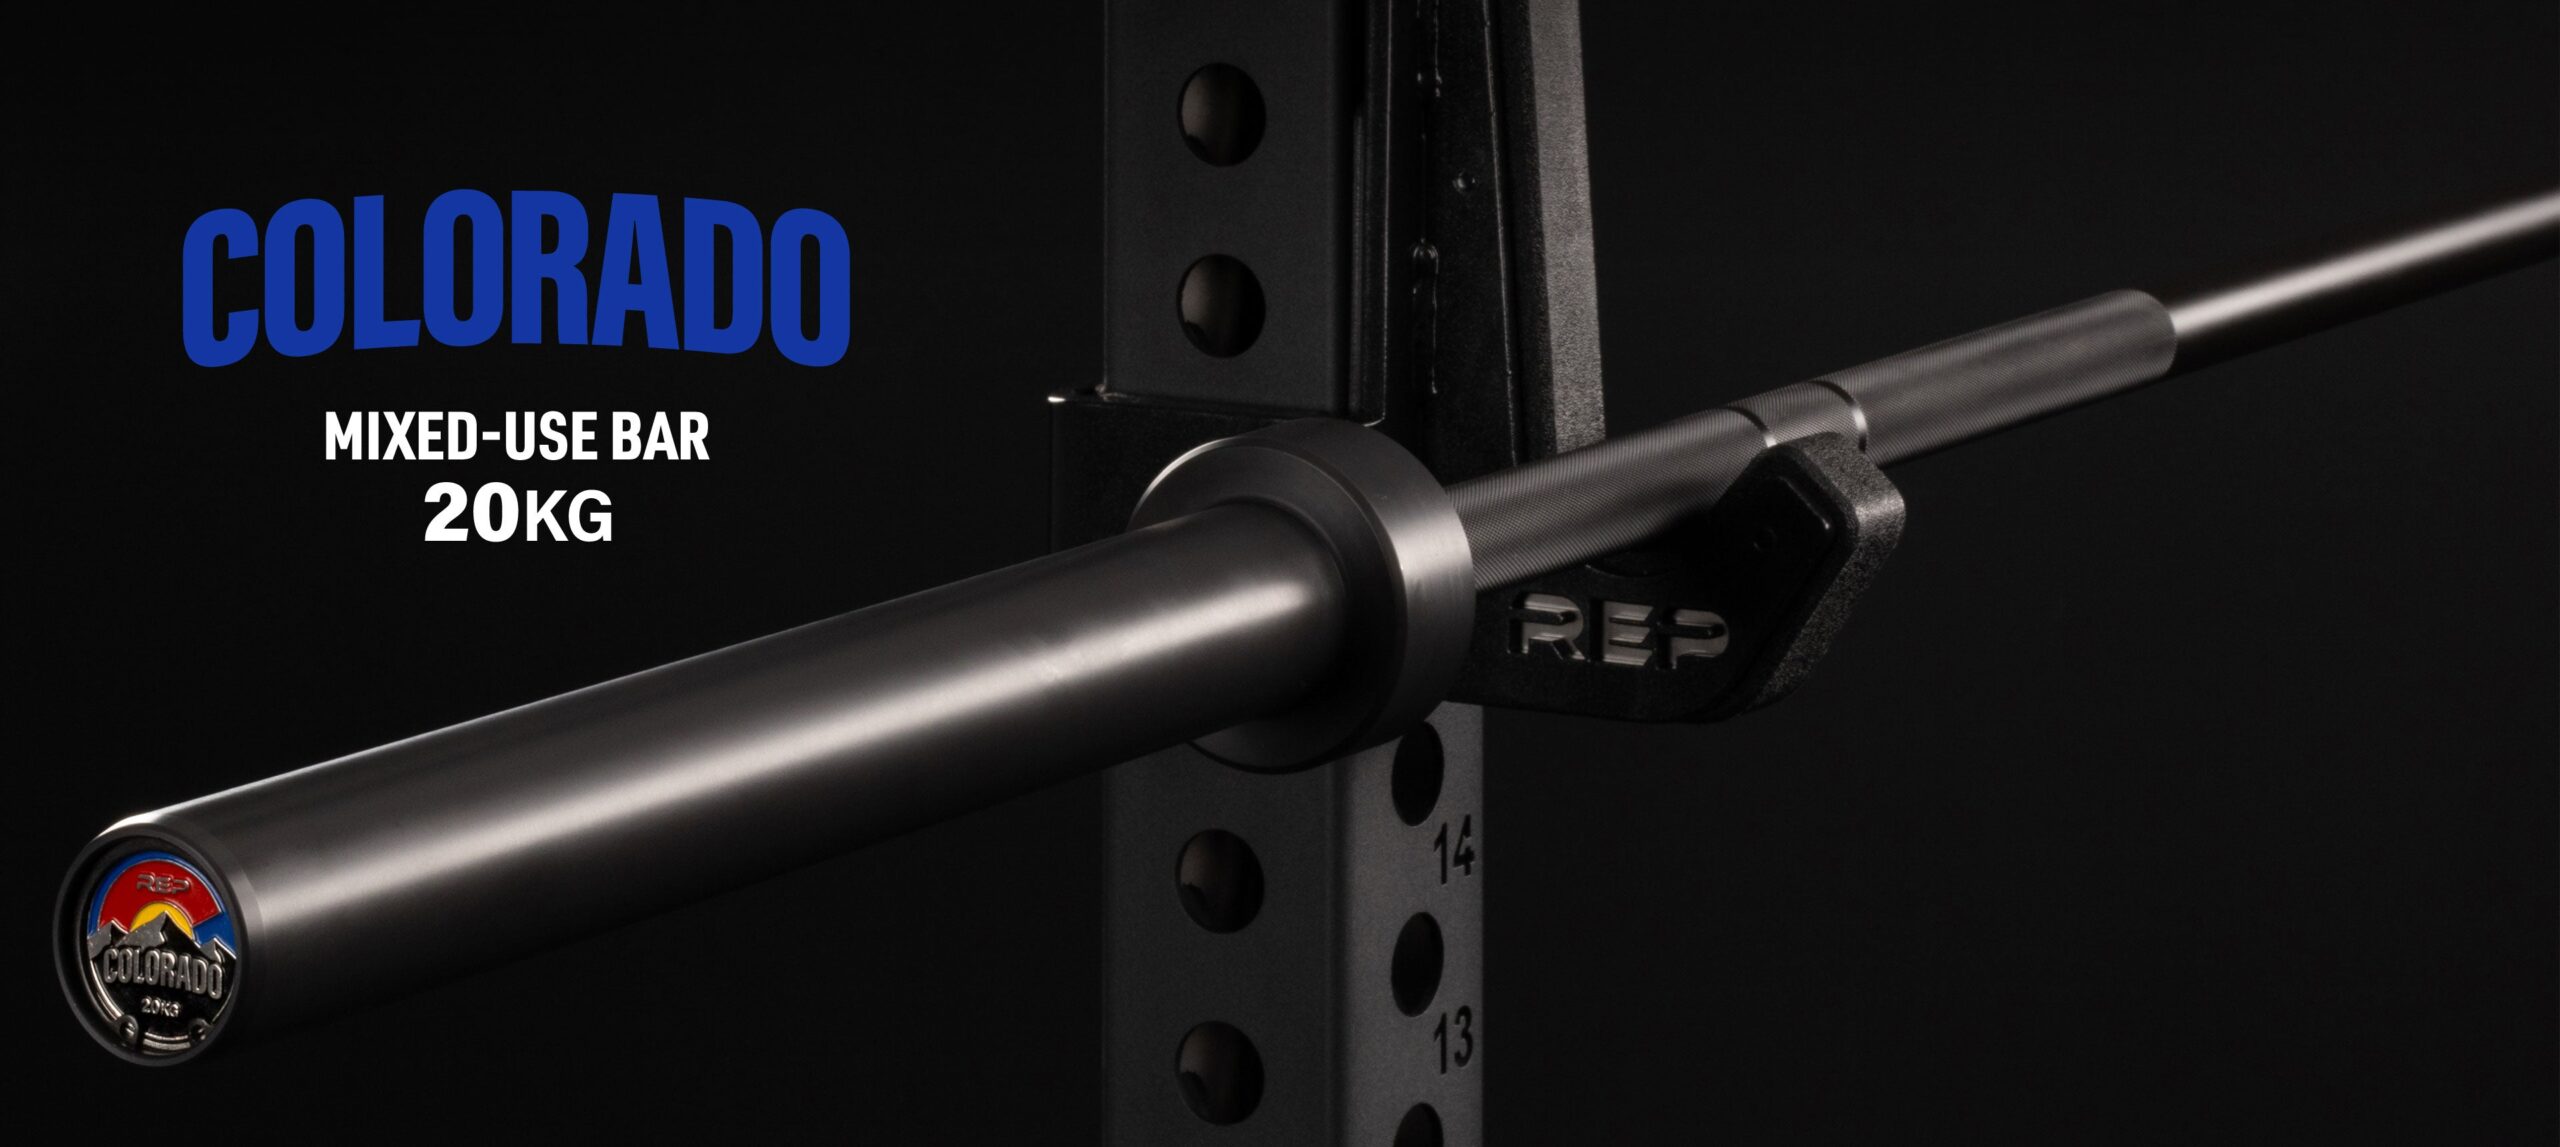
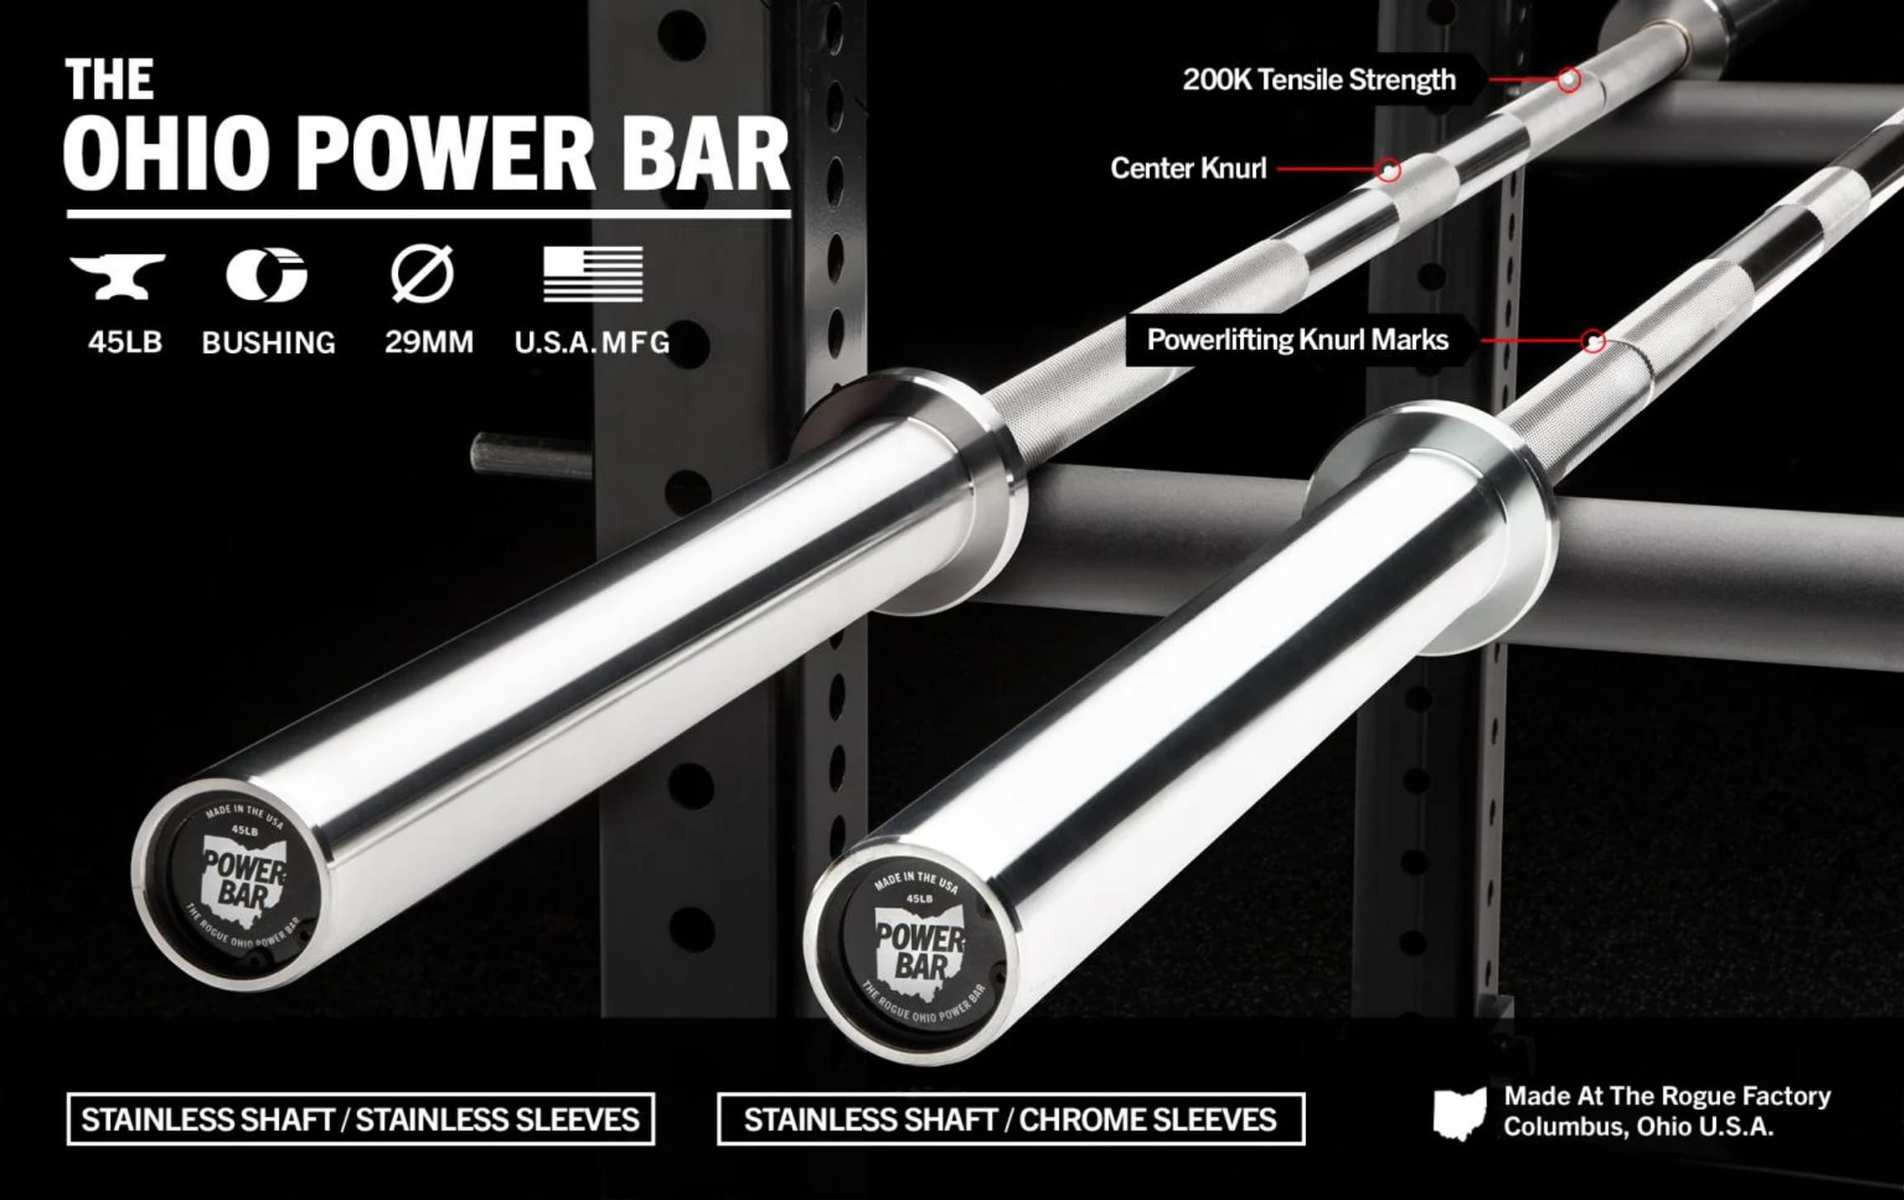
- Available in both 20 kg and 15 kg versions
- Comfortable medium-depth knurl
- 190,000 PSI tensile strength
- Hard chrome adds durability
- Smooth composite-bushing rotation
- Balanced feel for Olympic lifting
- Limited lifetime warranty
- No center knurl
- Bushings are less competition-focused than needle bearings
- Not ideal for lifters who want very aggressive knurling
Barbell Collars
While you’re at it, make sure to pick up some barbell collars if your barbell didn’t come with any.
These don’t have to be expensive but you have a couple of options depending on the type of collar you choose.
Here are my favorites of each type so you can decide which you like the most!
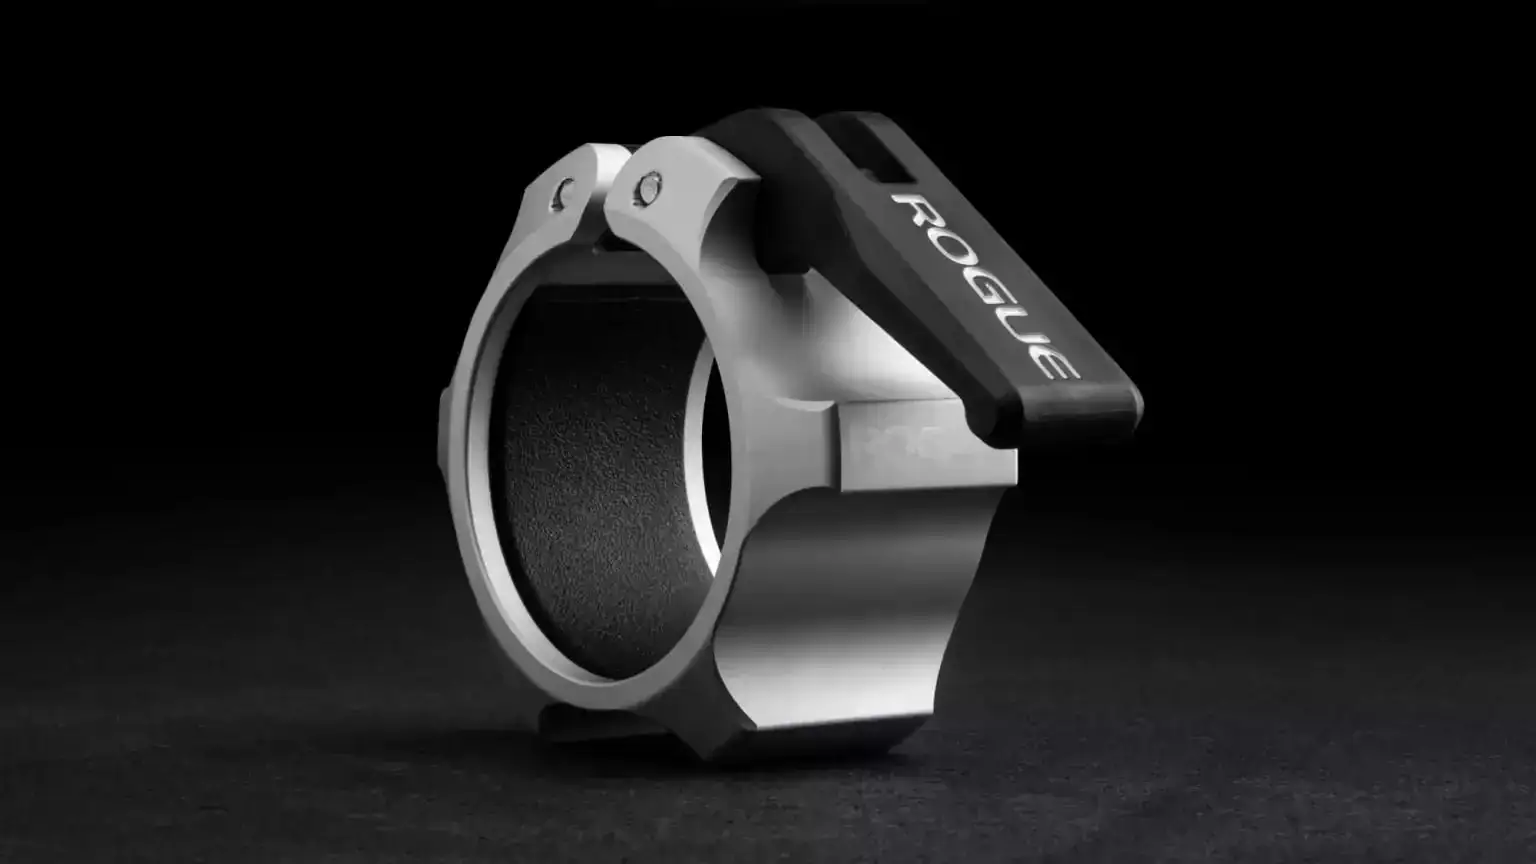
- Lightweight aluminum construction
- Easy to attach and remove
- Broad lever gives a secure clamp
- Rubber lining protects the bar sleeve
- Made in the USA
- Rust-resistant construction
- Cerakote color options available
- More expensive than many basic collars
- Cerakote colors cost extra
- Lever should be released carefully to avoid pinching
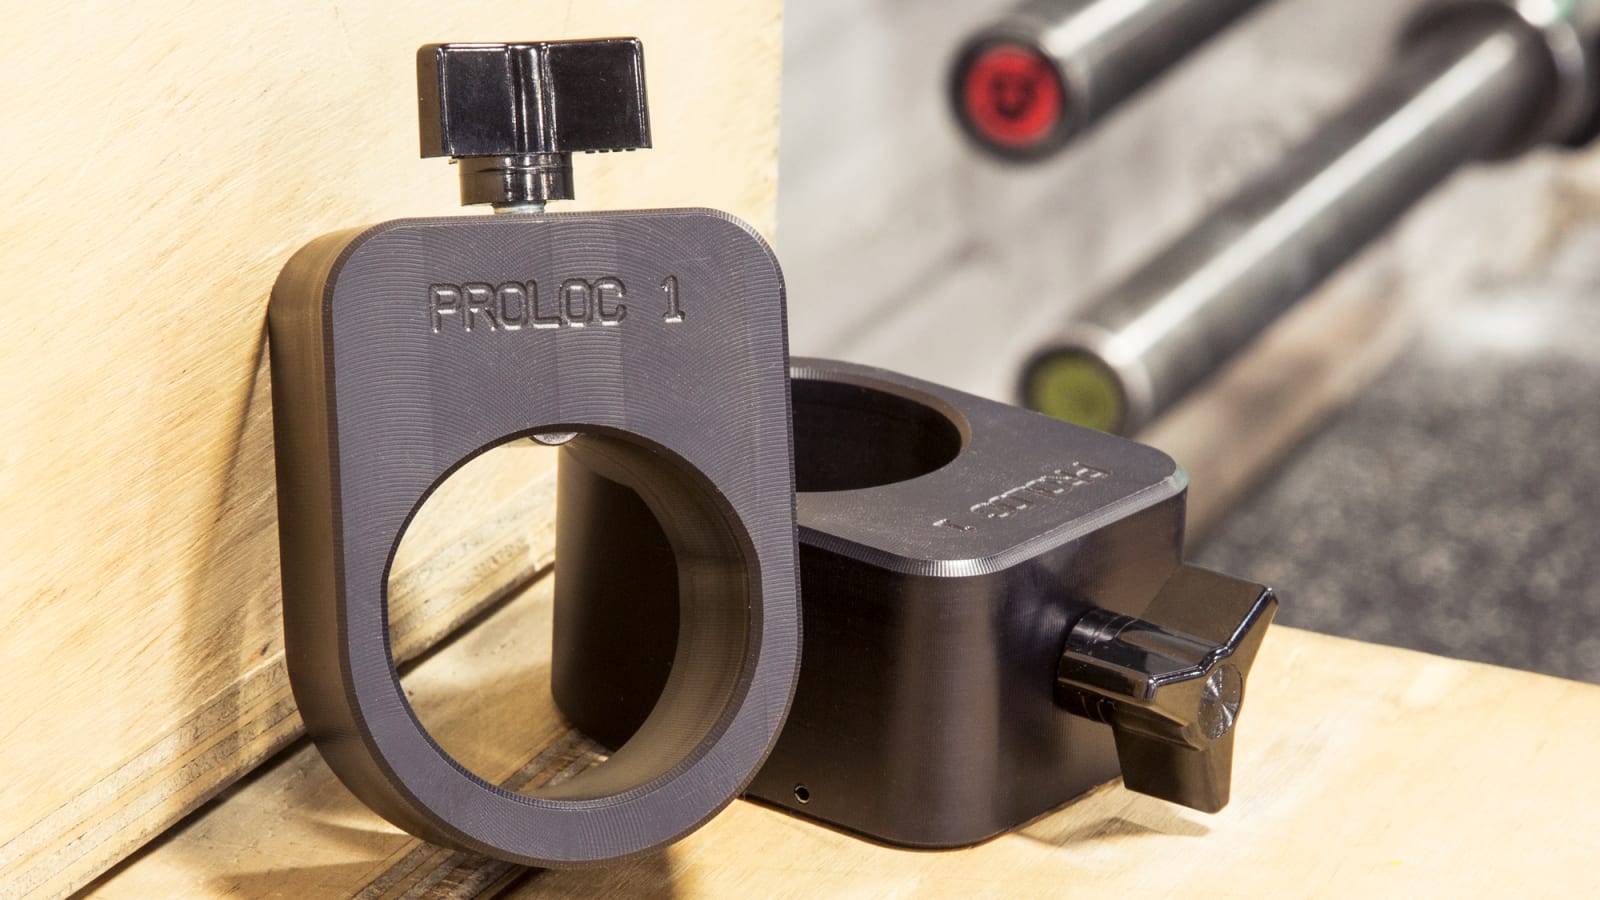
- Works with Olympic and specialty-bar sleeves
- Lightweight
- Durable nylon-resin construction
- Simple hand-screw adjustment
- Made in the USA
- Available in many colors
- Can slip during use
- No inner rubber lining
- Takes longer to tighten than quick-release collars
- Very affordable
- Lightweight
- Lifetime warranty
- 18 color options
- Quick-release tab makes plate changes easy
- Rubber-lined interior protects the bar
- Steel pins reinforce the plastic body
- Audible click indicates the clamp is locked
- Plastic body is less robust than metal collars
- Clamp can wear over time
- Can break if dropped or mishandled
- Not the best choice for very heavy lifting on a regular basis

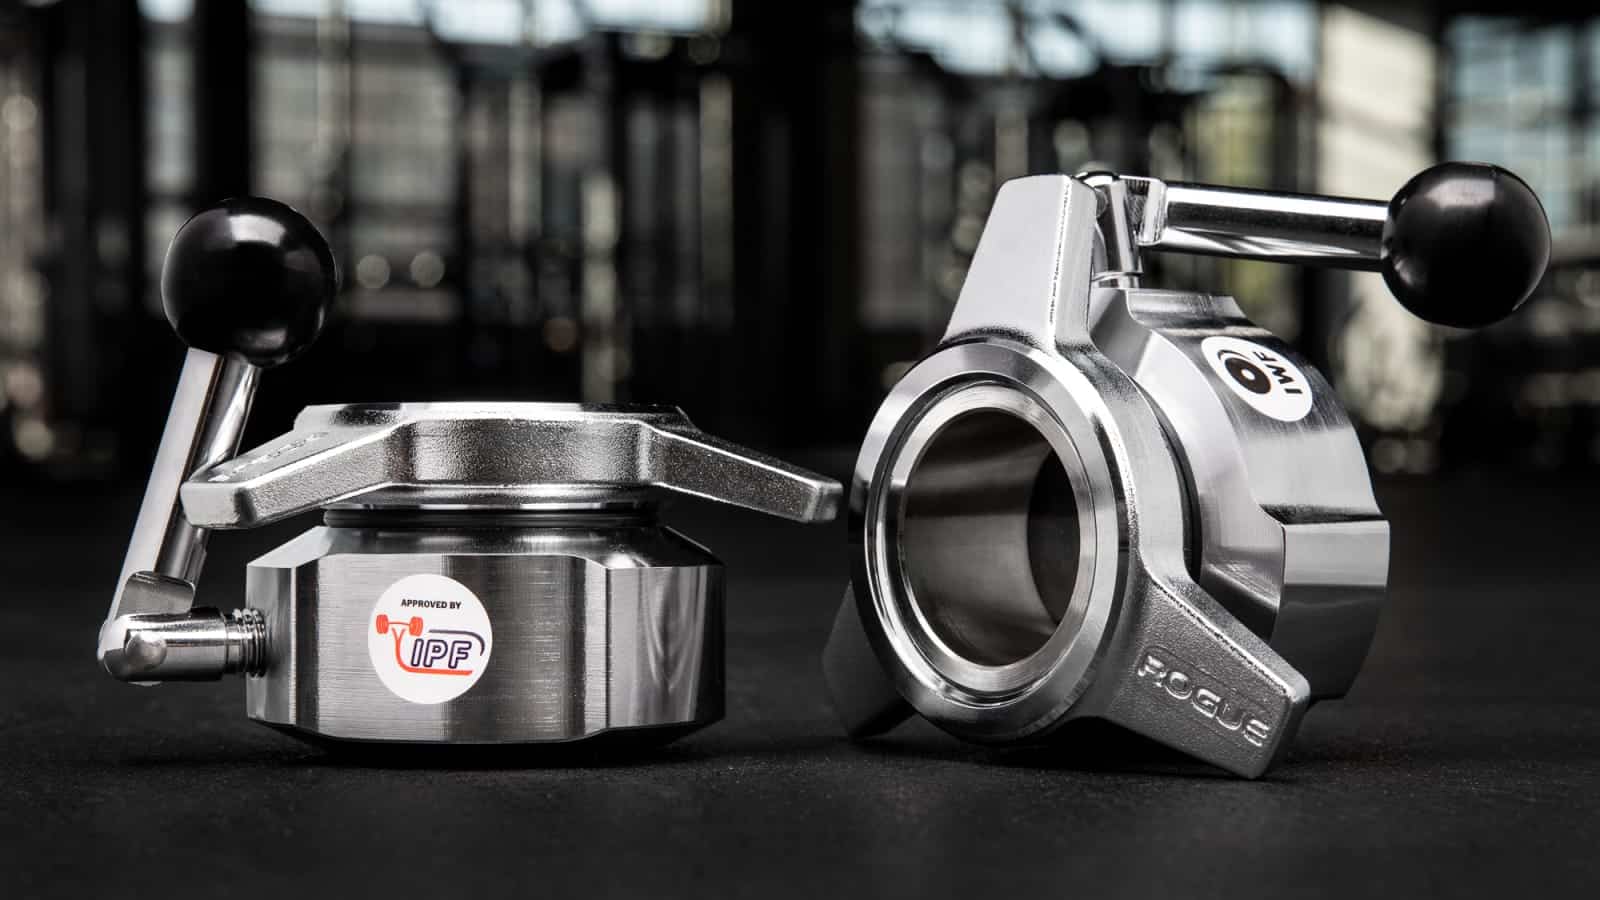
- Extremely durable billet-steel construction
- Meets IPF and IWF competition standards
- Dual-compression design creates a very secure fit
- Accurately weighted to within +/- 10 grams
- Hard chrome adds corrosion resistance
- Excellent plate security
- Two-year warranty
- Expensive compared with normal collars
- Much heavier and wider than everyday collars
- Slower to secure and remove than quick-release clamps
- Overkill for most non-competitive home gyms
Weight Plates
Next up in building your home gym: weight plates. They’re key to any lifting routine, whether you’re deadlifting, squatting, or pressing.
Let’s dive into what makes a great plate and check out some top picks to get you lifting in no time.
- Type of Plates – There are mainly two types of plates: standard plates and bumper plates. Standard plates are typically made of iron and are great for general strength training. Bumper plates, made of rubber, are designed for Olympic lifting where the bar is dropped from front rack and overhead positions.
- Size – Most barbells are designed for Olympic-sized plates (with a 2-inch center hole). Ensure the plates you choose are compatible with your barbell. The diameter of the plates can also affect your lifting (especially deadlifts), so consider this if you’re training for specific goals.
- Weight Tolerance – This refers to how accurate the weight of the plate is compared to its stated weight. Higher quality plates have a lower weight tolerance, meaning they’re closer to their advertised weight.
- Smell – Rubber plates, especially cheaper ones, can have a strong odor due to the materials used. If you’re sensitive to smells or have a small, enclosed gym space, this might be a factor to consider.
- Price – Price varies widely based on the type, material, and accuracy of the plates. Standard iron plates are generally cheaper than bumper plates. High-precision, competition-grade plates will be on the higher end of the price spectrum.
Here are some top picks for weight plates, catering to different needs and budgets.
- IWF-standard 450 mm diameter
- Narrow profile allows more weight on the bar
- Steel disc insert keeps the plate secure on the sleeve
- Durable enough for daily training
- Refined finish compared with basic Echo bumpers
- Works well for Olympic lifting and general strength training
- Costs more than basic Echo bumper plates
- Not positioned as the competition-grade option in Rogue's lineup
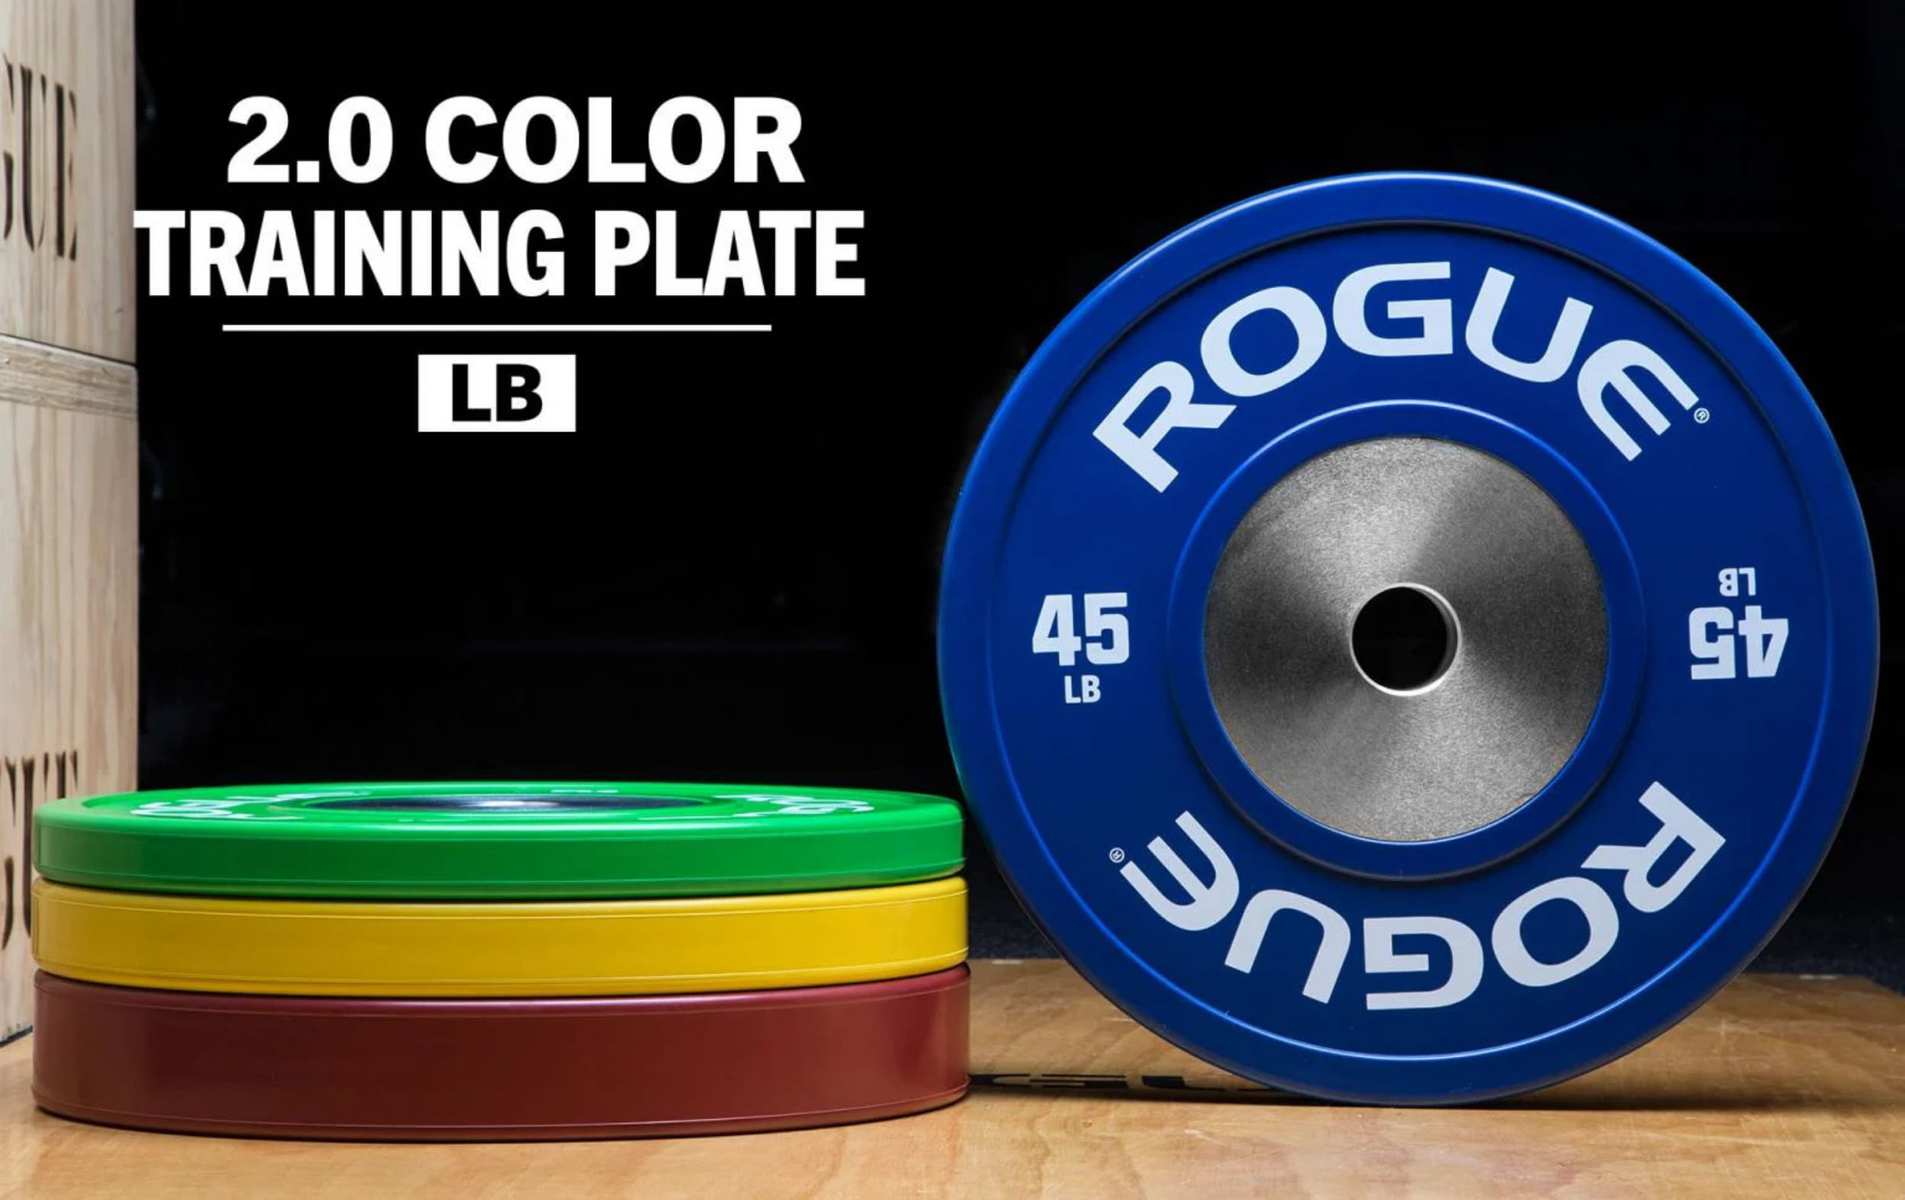
The Power Rack
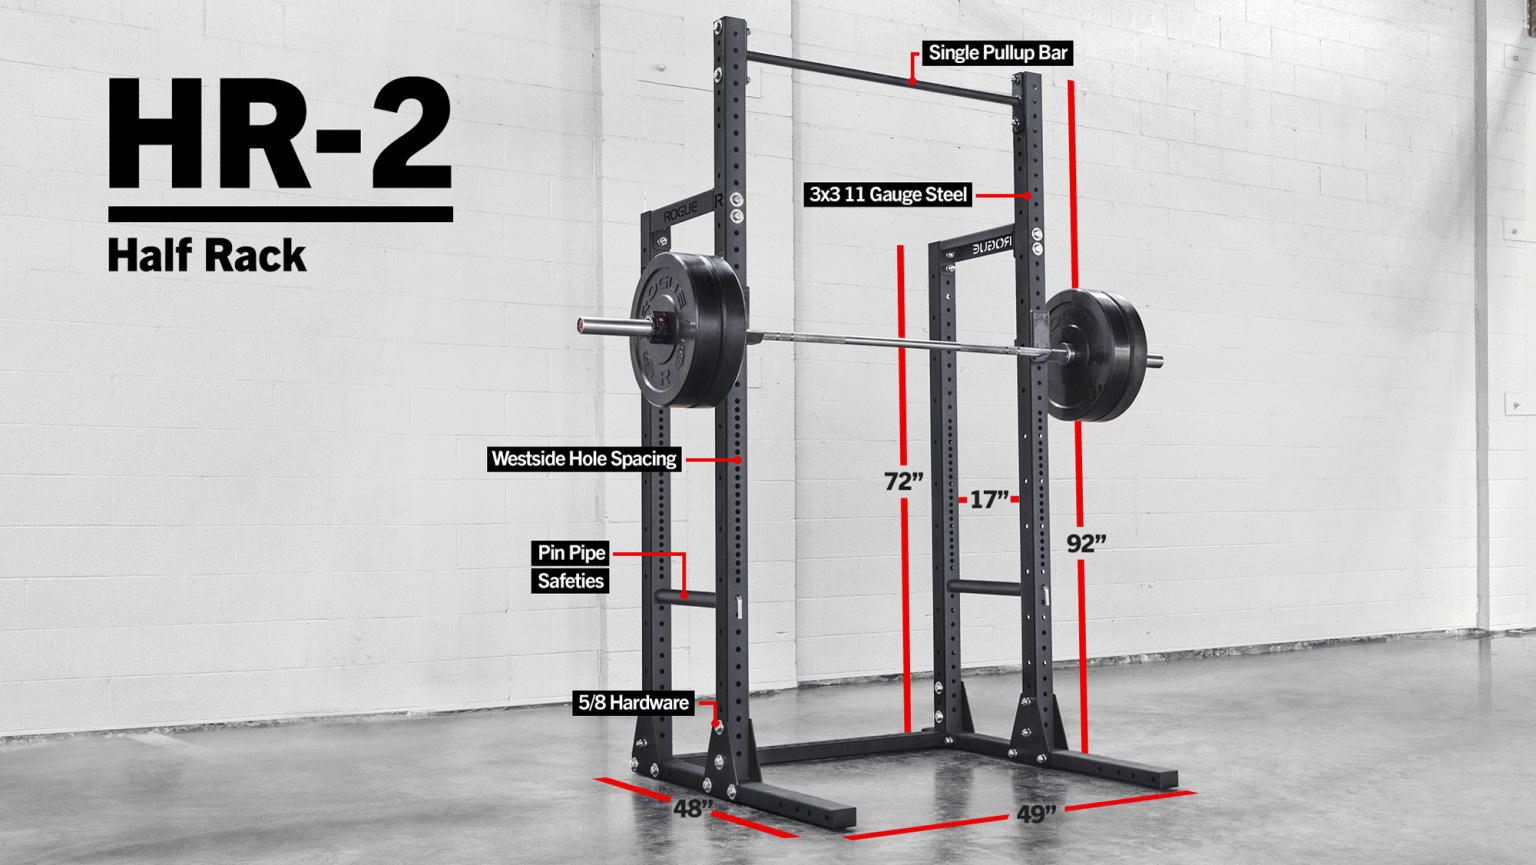
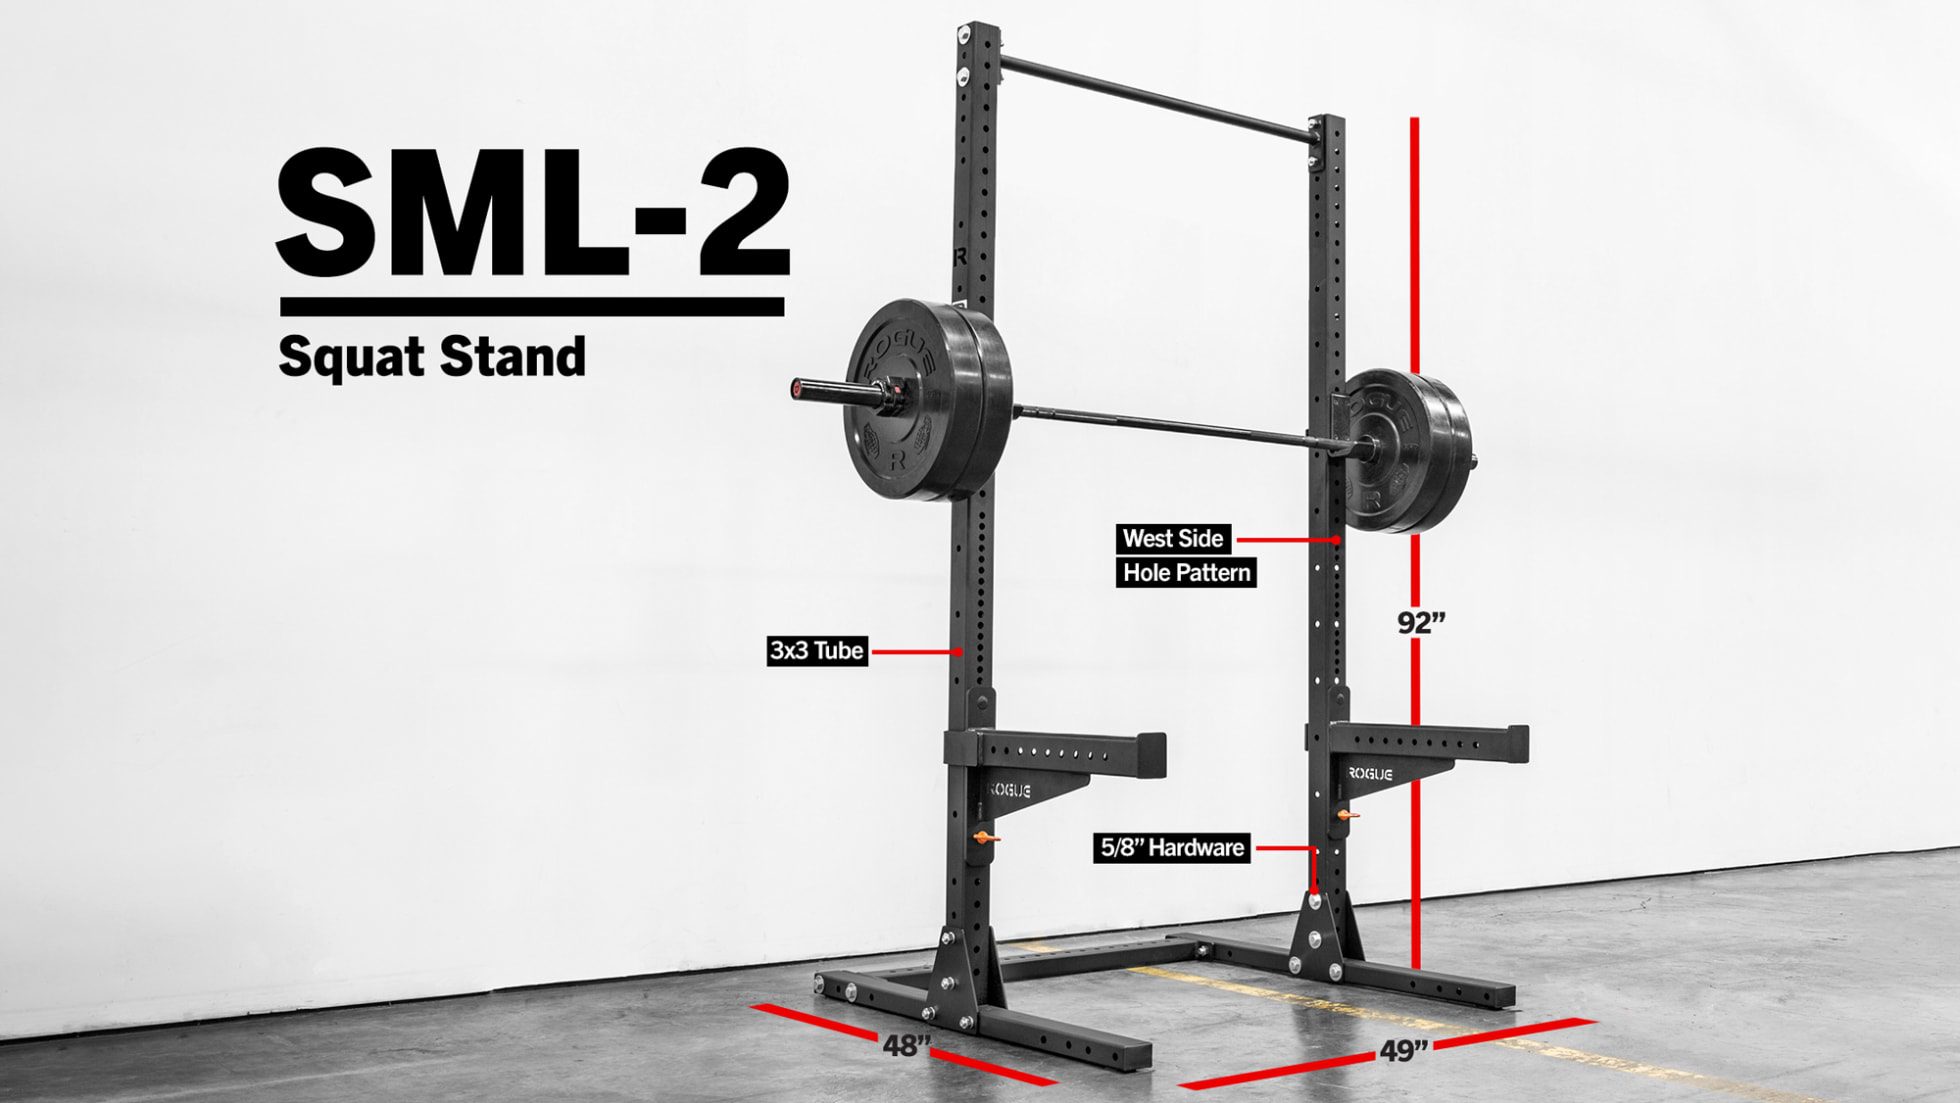
Moving on to a cornerstone of any serious home gym: the power rack. There are a bunch of types and sizes to consider so make sure you do your research and get it right the first time.
- Type Of Rack – Power racks, half racks, squat stands, and folding racks are the main types. Your choice depends on your space, the exercises you plan to do, and how much weight you’ll be lifting.
- Tubing Size & Steel Gauge – The thickness and quality of the steel determine the rack’s durability and stability. Look for 11-14 gauge steel and consider the tubing size (2×2, 2×3, or 3×3 inches) for compatibility with attachments.
- Hole Size & Spacing – This affects the adjustability of the rack. Standard sizes are 1 inch or 5/8 inch. Closer hole spacing allows more precise adjustments for bar height, which is especially useful for bench press variations.
- Weight Capacity – Ensure the rack can handle the maximum weight you plan to lift. Most quality racks can support well over 1,000 pounds.
- Available Attachments – Consider what attachments are available for the rack, like pull-up bars, dip stations, or landmines, to expand your exercise options.
- Price – Prices range widely based on quality and features. Balance your budget with the features you need for a safe and effective workout.
Here are some top power rack picks, each excelling in different aspects:
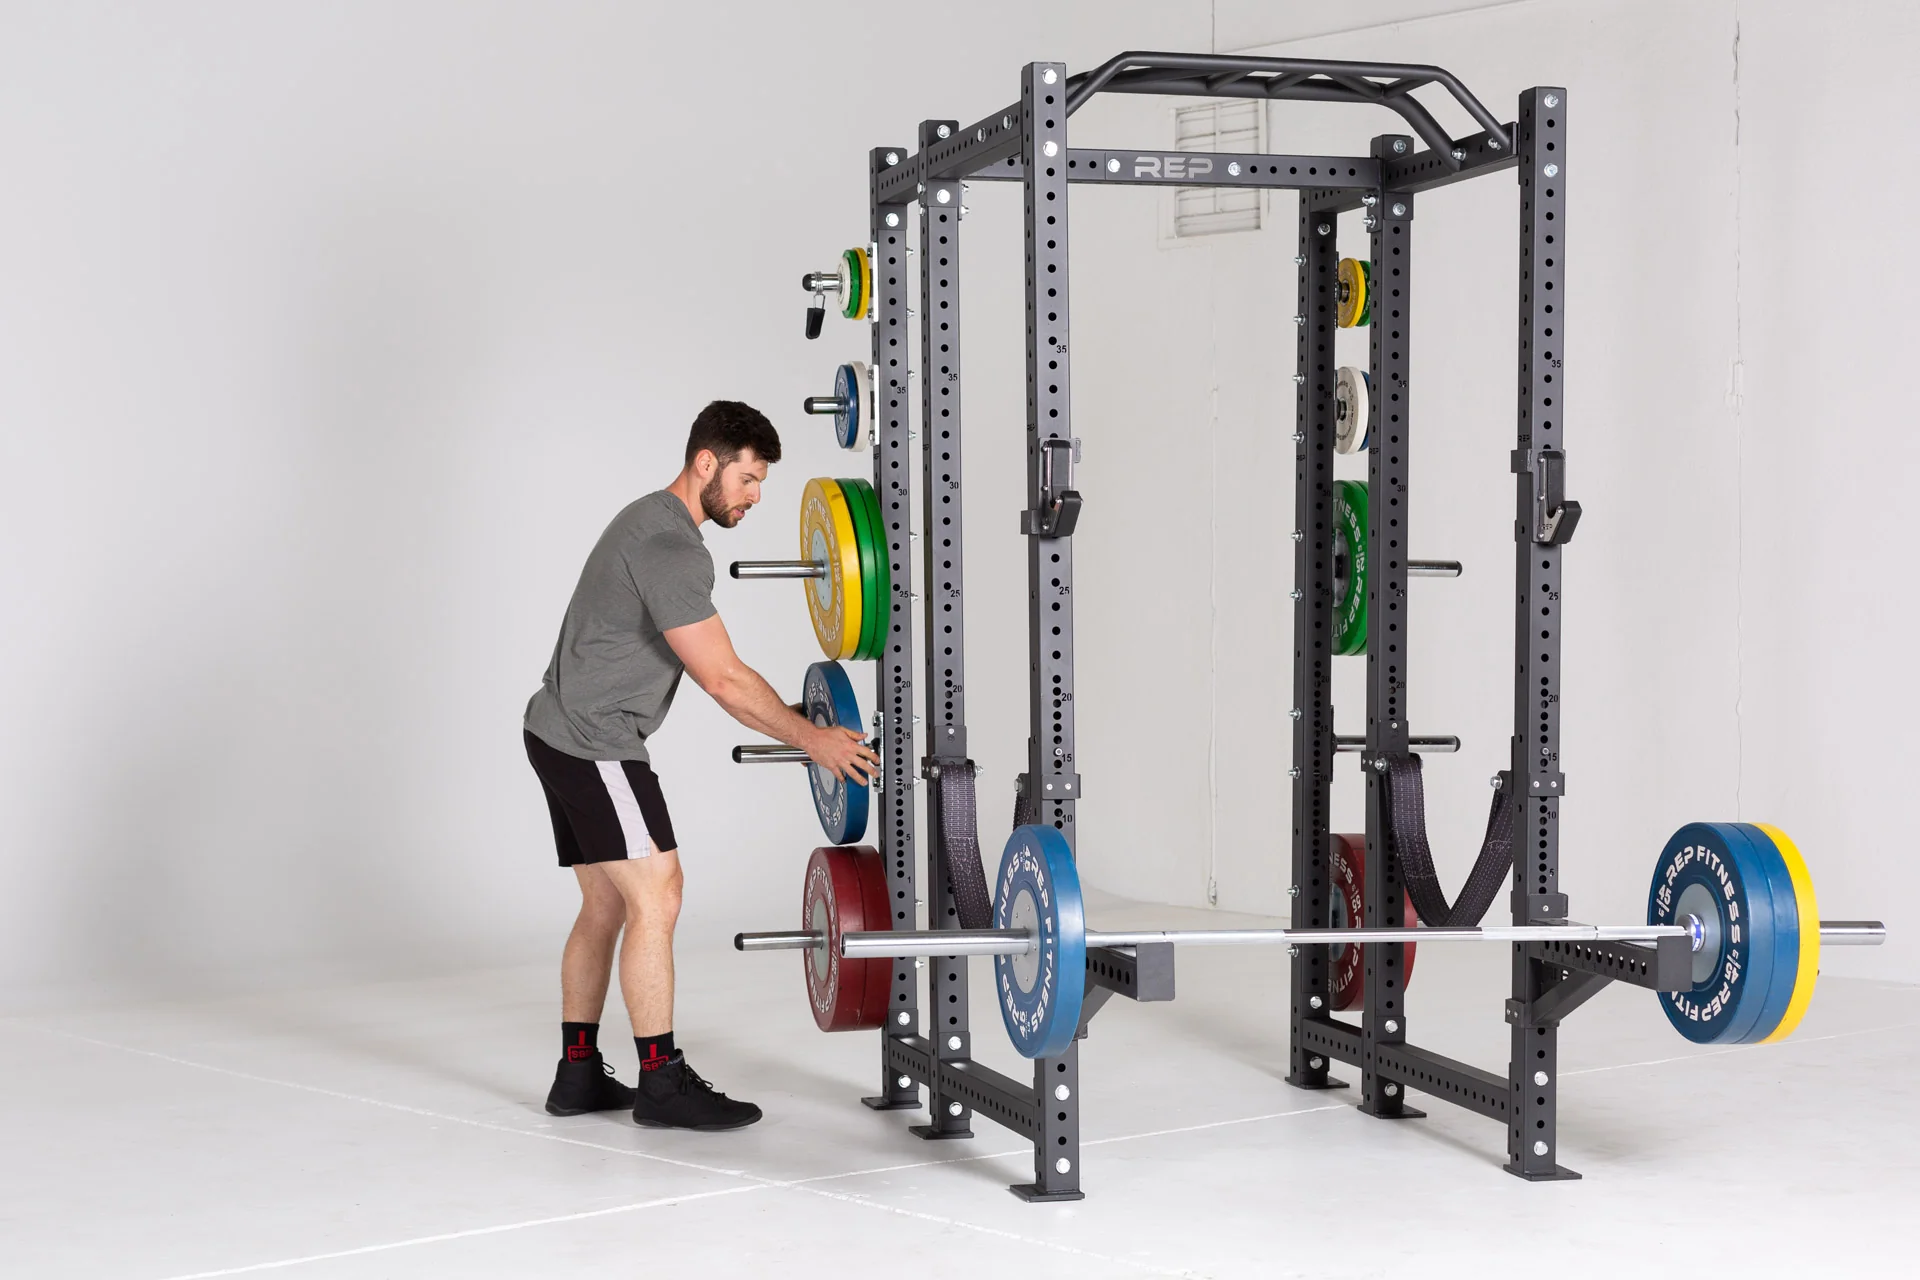
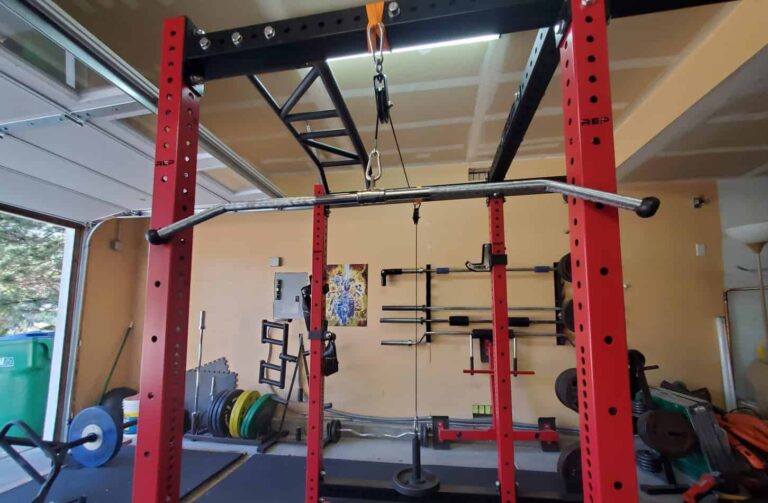
The REP PR-4000 is the rack I’d recommend to most serious home gym owners. I’ve owned mine for years, and it gives you the right balance of adjustment, ecosystem, and long-term expandability without paying extra for features most people will never need.
- Great balance of price, adjustability, and upgrade options
- Tight bench-zone spacing makes J-cup and safety setup easier
- Multiple height and depth configurations
- Large REP attachment and cable ecosystem
- Owned long-term and still more rack than I need
- Metric tubing can make some cross-brand attachments fit imperfectly
- Configured price climbs quickly with cables, storage, and premium attachments
- Some configurations need bolting or a stabilizer
- Not the cheapest way to get a full cage
- Buyers committed to 1-inch hardware may prefer a different ecosystem
Weight Bench
Now, let’s talk about weight benches – an essential piece for your home gym. Here’s what to consider when selecting one, along with some top recommendations.
- Type Of Bench – There are three main types: flat, adjustable, and FID (Flat, Incline, Decline) benches. Flat benches are stable and great for standard bench presses. Adjustable benches offer versatility with varying incline and decline angles. FID benches provide the most versatility, allowing for a wide range of exercises including flat, incline, and decline positions.
- Adjustment Type If Adjustable – There are mainly two types of adjustment mechanisms – pop-pin and ladder style. Pop-pin adjustments offer ease and speed, allowing you to quickly change the bench angle. Ladder-style adjustments, on the other hand, tend to be more robust and stable, ideal for heavy lifting.
- Weight Capacity & Steel Gauge – Aim for a bench with a high weight capacity, ideally above 500 lbs. This ensures durability and safety, especially if you’re planning on lifting heavy. The steel gauge is also important – the lower the number, the thicker and stronger the steel. Look for 11 to 14 gauge steel for optimal strength and stability.
- Pad Gap – The gap between the seat and the back pad is an often overlooked aspect. A smaller gap is generally better for comfort and support, especially when lying flat. Aim for a gap of no more than 2 inches.
- Price – The price can vary significantly based on the type and quality of the bench. For a basic flat bench, expect to spend around $50 to $150. Adjustable benches, particularly those with FID capabilities, can range from $150 to $500 or more, depending on the brand and features.
Here are some top picks that cater to different needs and preferences.
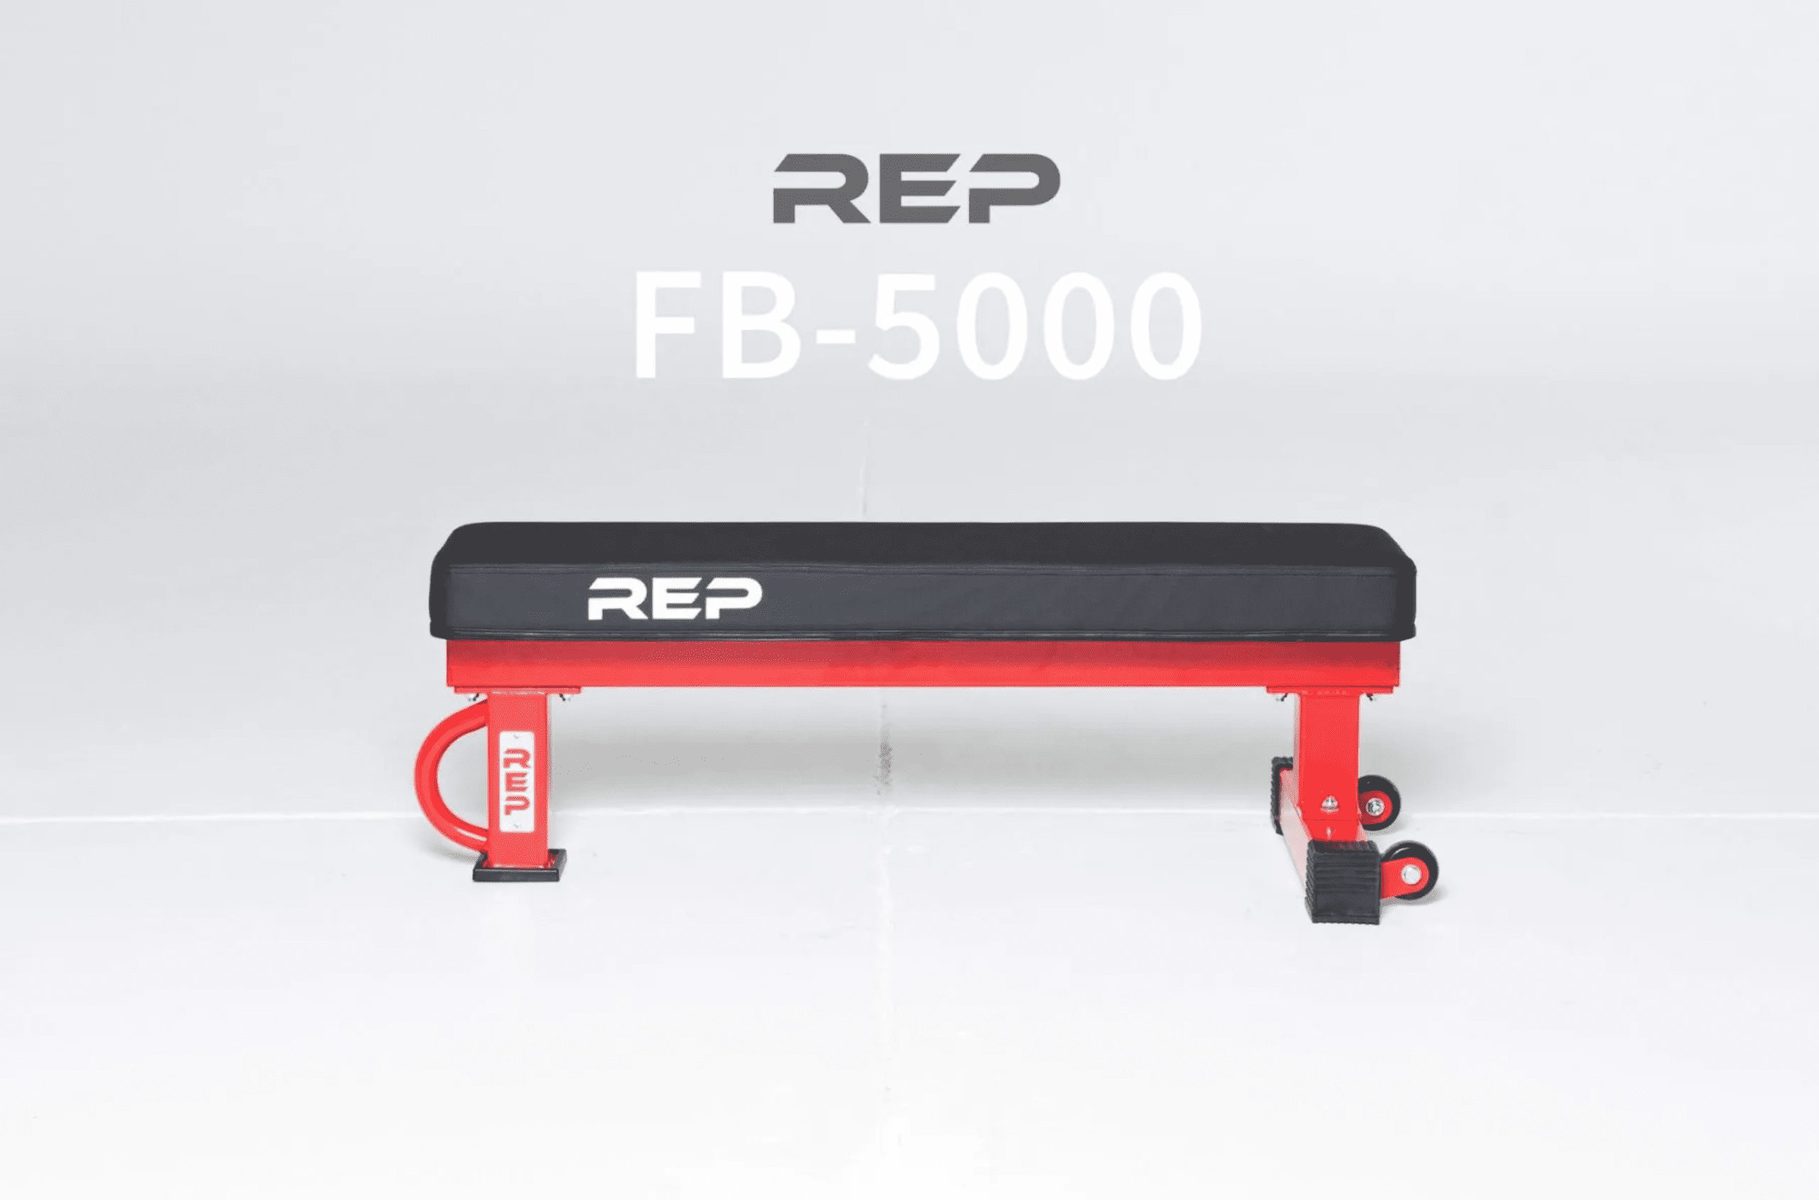
- IPF-spec dimensions
- Heavy-duty 7-gauge connecting plates
- Very grippy standard vinyl pad
- Compatible with REP Thompson Fat Pad and Wide Pad options
- Multiple frame colors
- Strong value compared with more expensive competition benches
- Flat-only design with no incline or decline positions
- Standard pad is not quite as premium as Rogue's competition fat-pad options
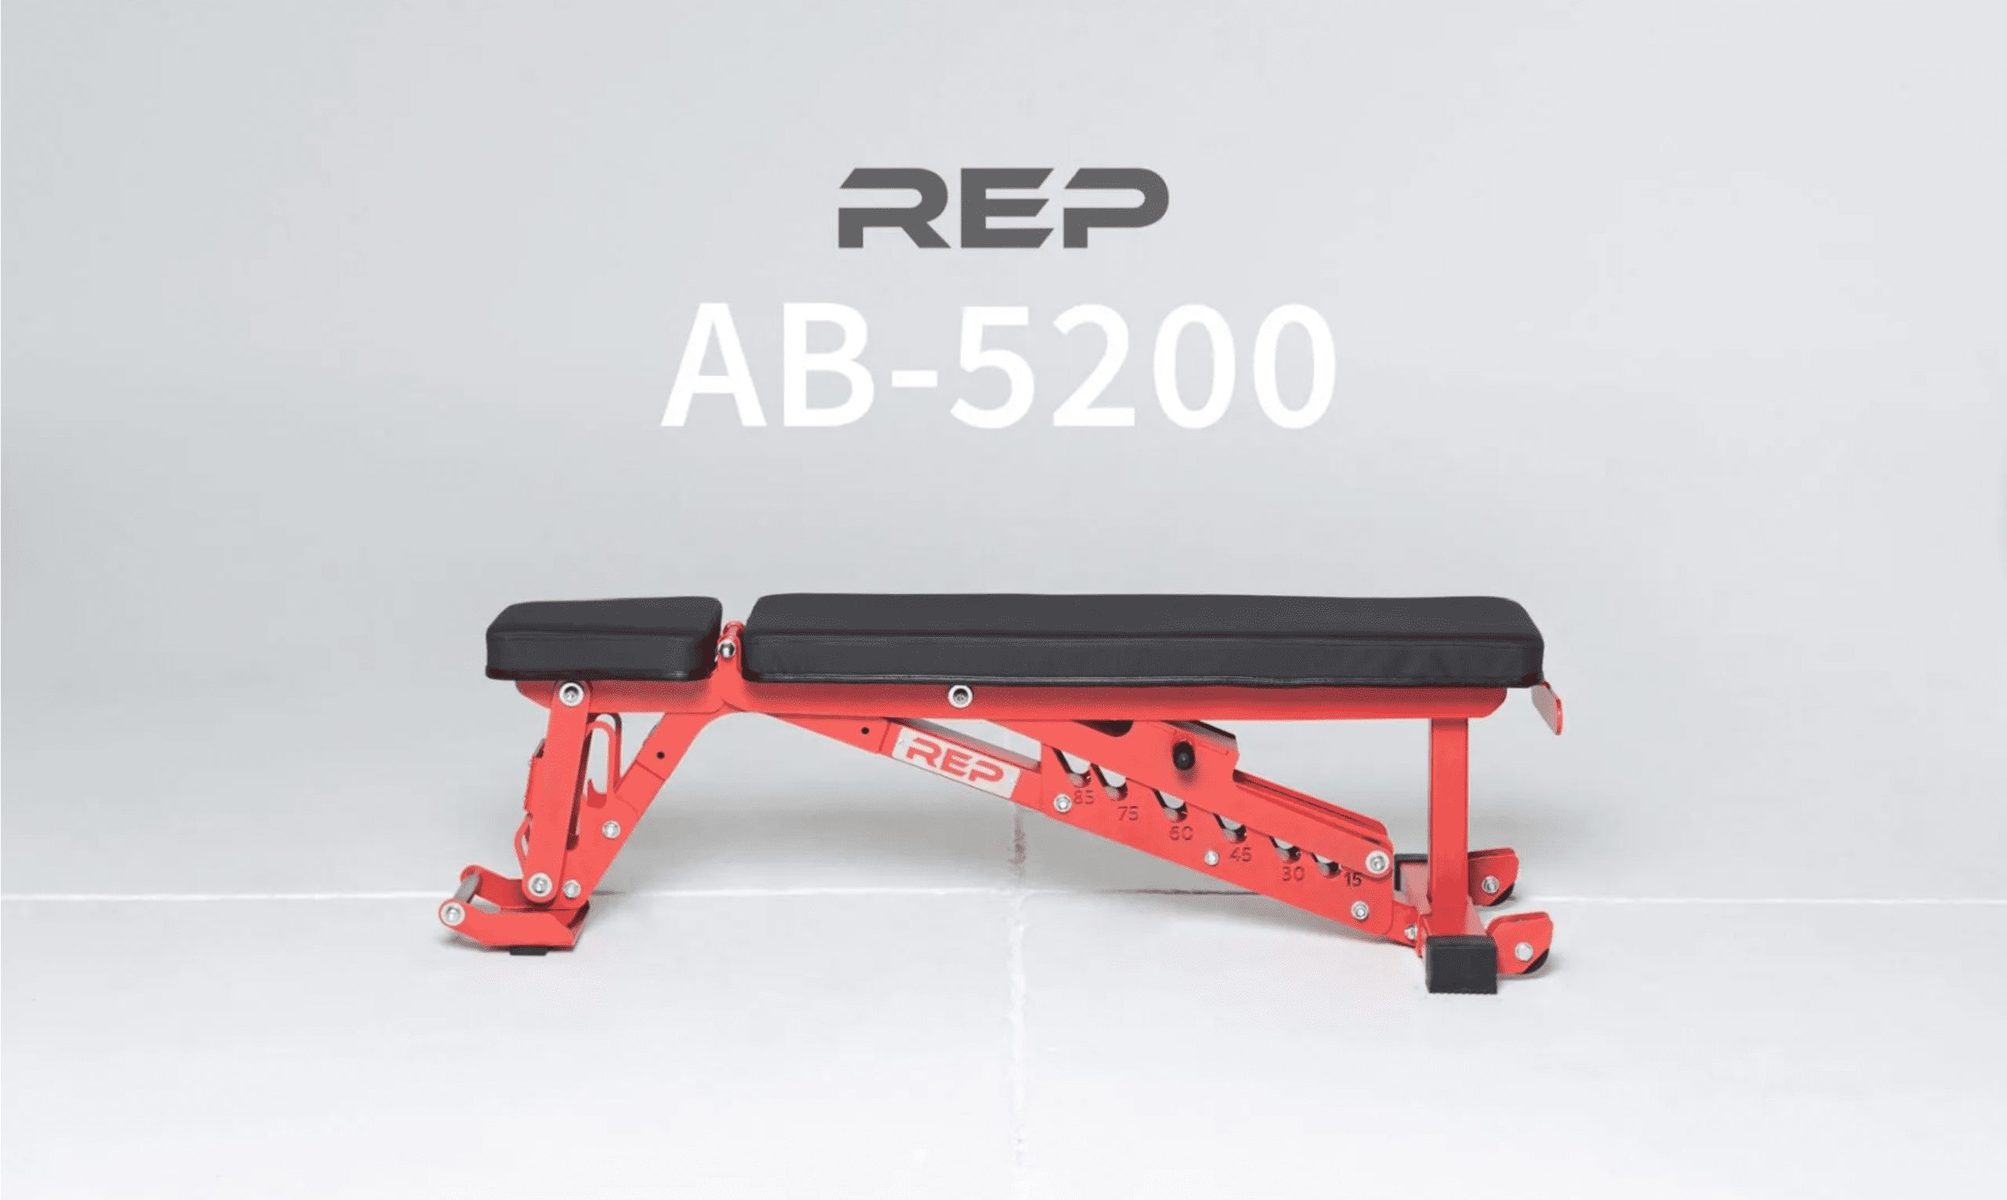
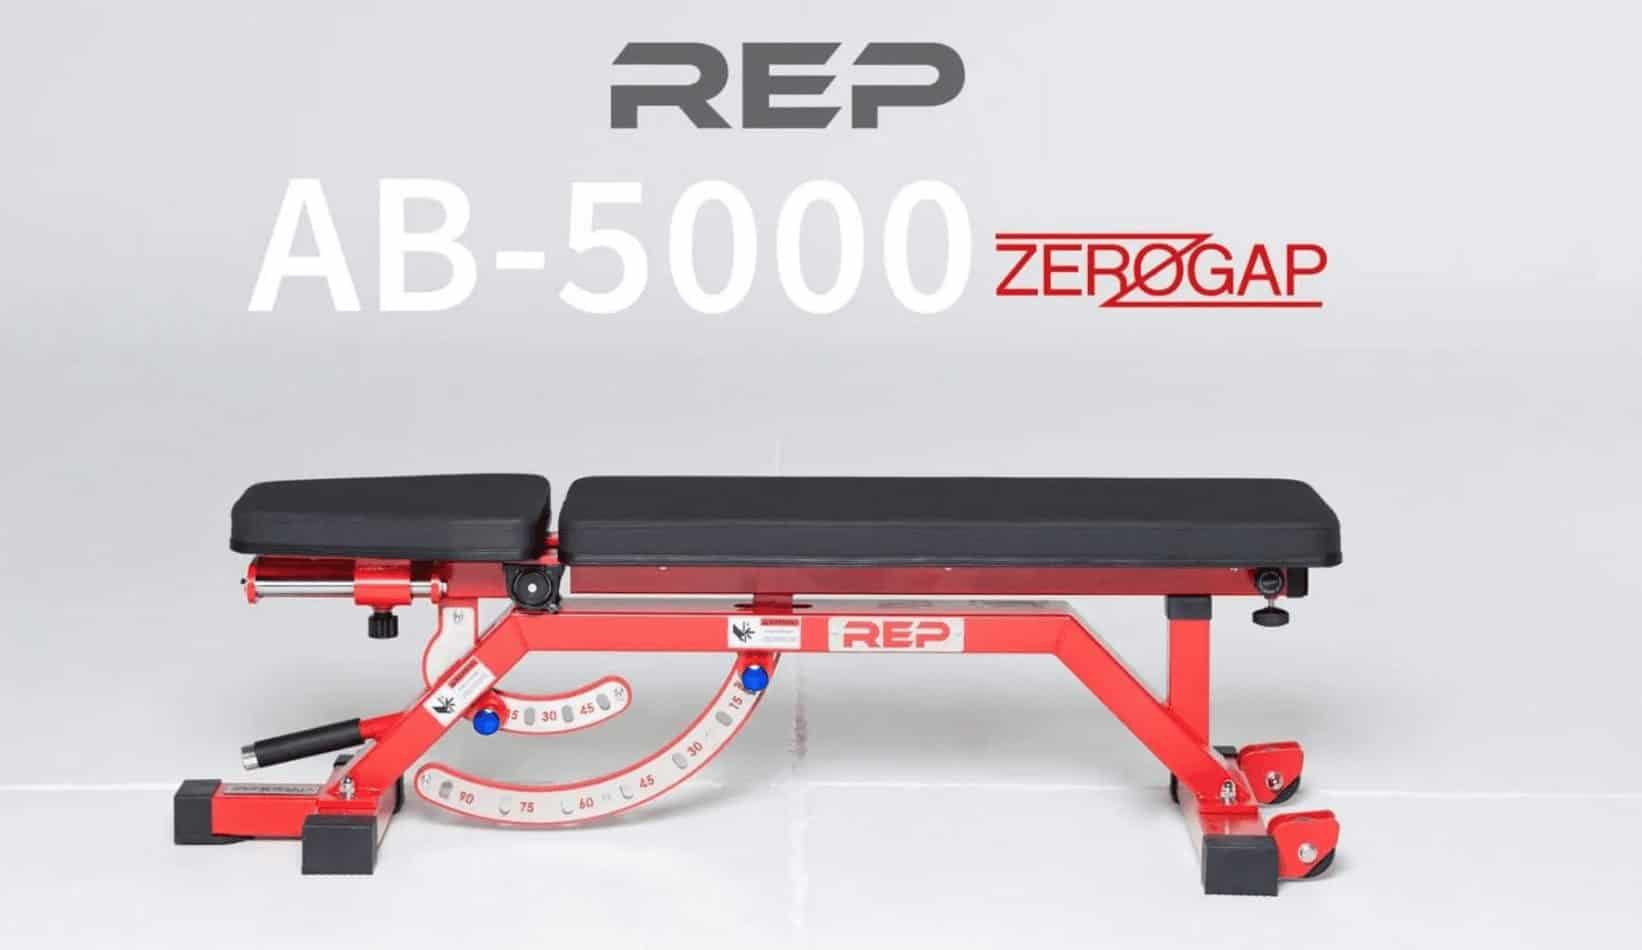
I've used the original REP AB-5200 four-five days per week for years, and it became my main adjustable bench because it was extremely stable, heavy-duty, and easy to adjust. REP now sells the AB-5200 2.0, which keeps the 1,000 lb capacity while adding more adjustment options and an optional decline setup.
- Zero-gap design eliminates the seat-to-back-pad gap
- 1,000 lb weight capacity
- Wide back and seat adjustment ranges
- Optional leg attachment adds true decline work
- Grippy vinyl pads help keep you planted
- T-shaped front foot adds support during decline work
- Zero-gap adjustment requires manual effort
- Sliding seat does not use a convenient pop-pin adjustment
- Heavy at 117 lb and harder for lighter users to move
- Front-foot design can interfere slightly with the vertical handle
Flooring
Before you start stacking weights and sweating it out, let’s not forget about what’s under your feet. Good flooring in your home gym is essential.
It’s not just about aesthetics; it’s about protecting your equipment, your floors, and yourself.
Proper gym flooring absorbs shock, reduces noise, and provides a stable surface for your workouts.
It’s one of those investments that you’ll thank yourself for every time you drop a weight and don’t dent your floor or disturb your neighbors.
Now, let’s check out some top flooring options to cushion your lifts and keep your gym in top shape.
Step 2 – High Priority Add-Ons Next
Alright, you’ve got your basic setup nailed down – it’s time to kick things up a notch! Now, we’re diving into the high-priority add-ons.
These aren’t just random extras; they’re strategic choices to maximize the effectiveness and enjoyment of your home gym.
Think of them as the cherries on top that transform a good home gym into a great one.
From storage solutions to cardio equipment, these add-ons will streamline your workouts, add variety, and ensure you’re covering all aspects of your training.
Plate Storage
Efficient plate storage is a game-changer. It not only keeps your weights organized and easily accessible but also saves space and reduces the risk of tripping over loose plates.
Whether you choose a vertical or horizontal rack, the right storage solution will keep your gym tidy and functional.
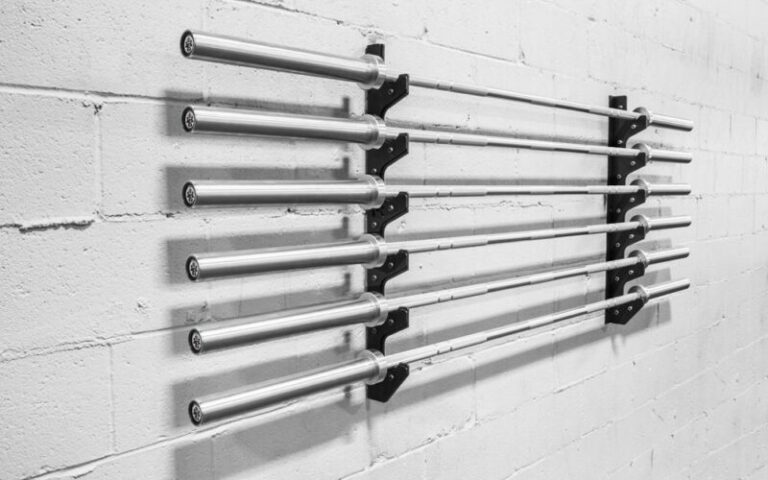
Barbell Storage
Proper barbell storage is key to maintaining the longevity and performance of your barbells.
Wall-mounted options save floor space, while rack-mounted solutions integrate seamlessly with your existing setup.
This is about protecting your investment and keeping your workout space safe and organized.
Also small disclaimer, I recommend not storing your barbell vertically. Barbells are only designed to bear weight horizontally.
While storing them with a vertical storage mount might not ever damage your bar, storing them in a horizontal orientation is just a safer bet.
Accessory Storage
As your collection of gym accessories grows, having a designated storage solution helps in maintaining an organized and efficient workout area.
It also prolongs the life of your equipment by keeping it off the floor and in good condition.
Pulley System
A pulley system adds a new dimension to your strength training.
It allows for a variety of exercises, particularly for training the upper body, and can be a great addition for those looking to enhance their lifting routine with more versatile movements.
RELATED – The Best Functional Trainers For Your Home Gym
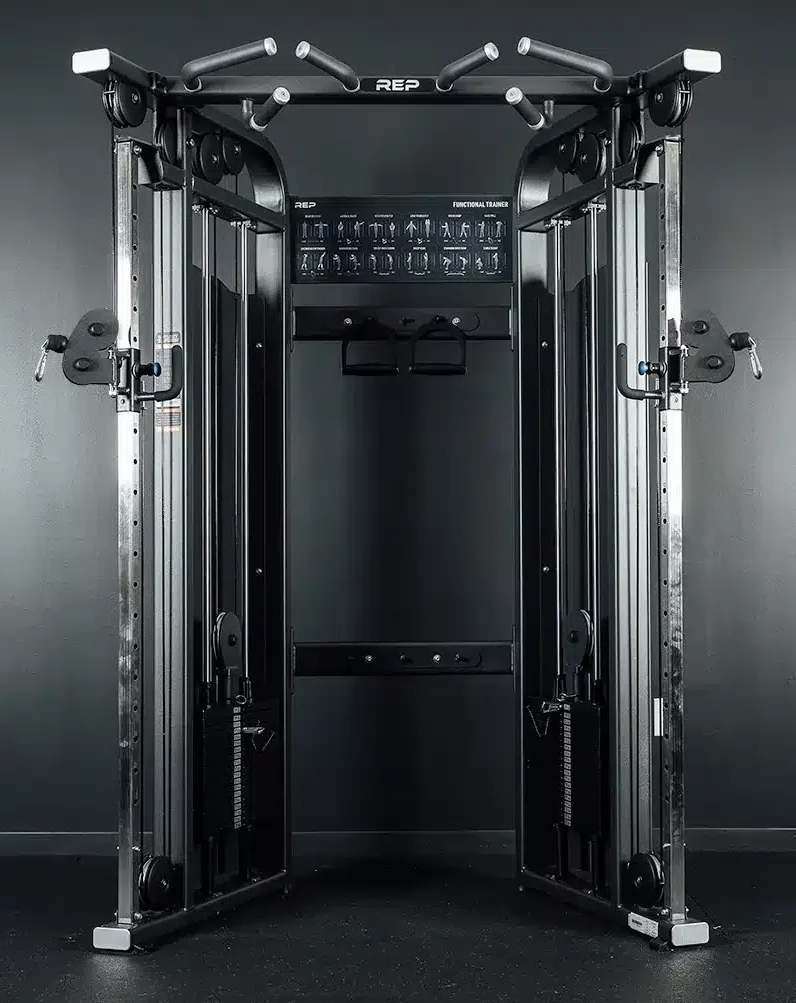
- Heavy dual 224 lb weight stacks
- 21 cable positions for a wide exercise range
- 11-gauge steel construction
- Aluminum pulleys and smooth cables
- Multiple pull-up grip options
- Updated design adds more weight and five more pulley positions
- Top trolley position can be awkward for taller users
- Pricey considering the limited included attachments
- 85.5" height may be short for users who want a taller unit
- 12.5 lb starting resistance is heavy for some lighter exercises
Cardio Equipment
Incorporating cardio equipment into your home gym brings balance to your training.
It’s essential for cardiovascular health, endurance training, and can be a great way to warm up or cool down in conjunction with your strength training.
From rowing machines to treadmills, each piece offers a different kind of cardio workout, allowing you to diversify your exercise routine.
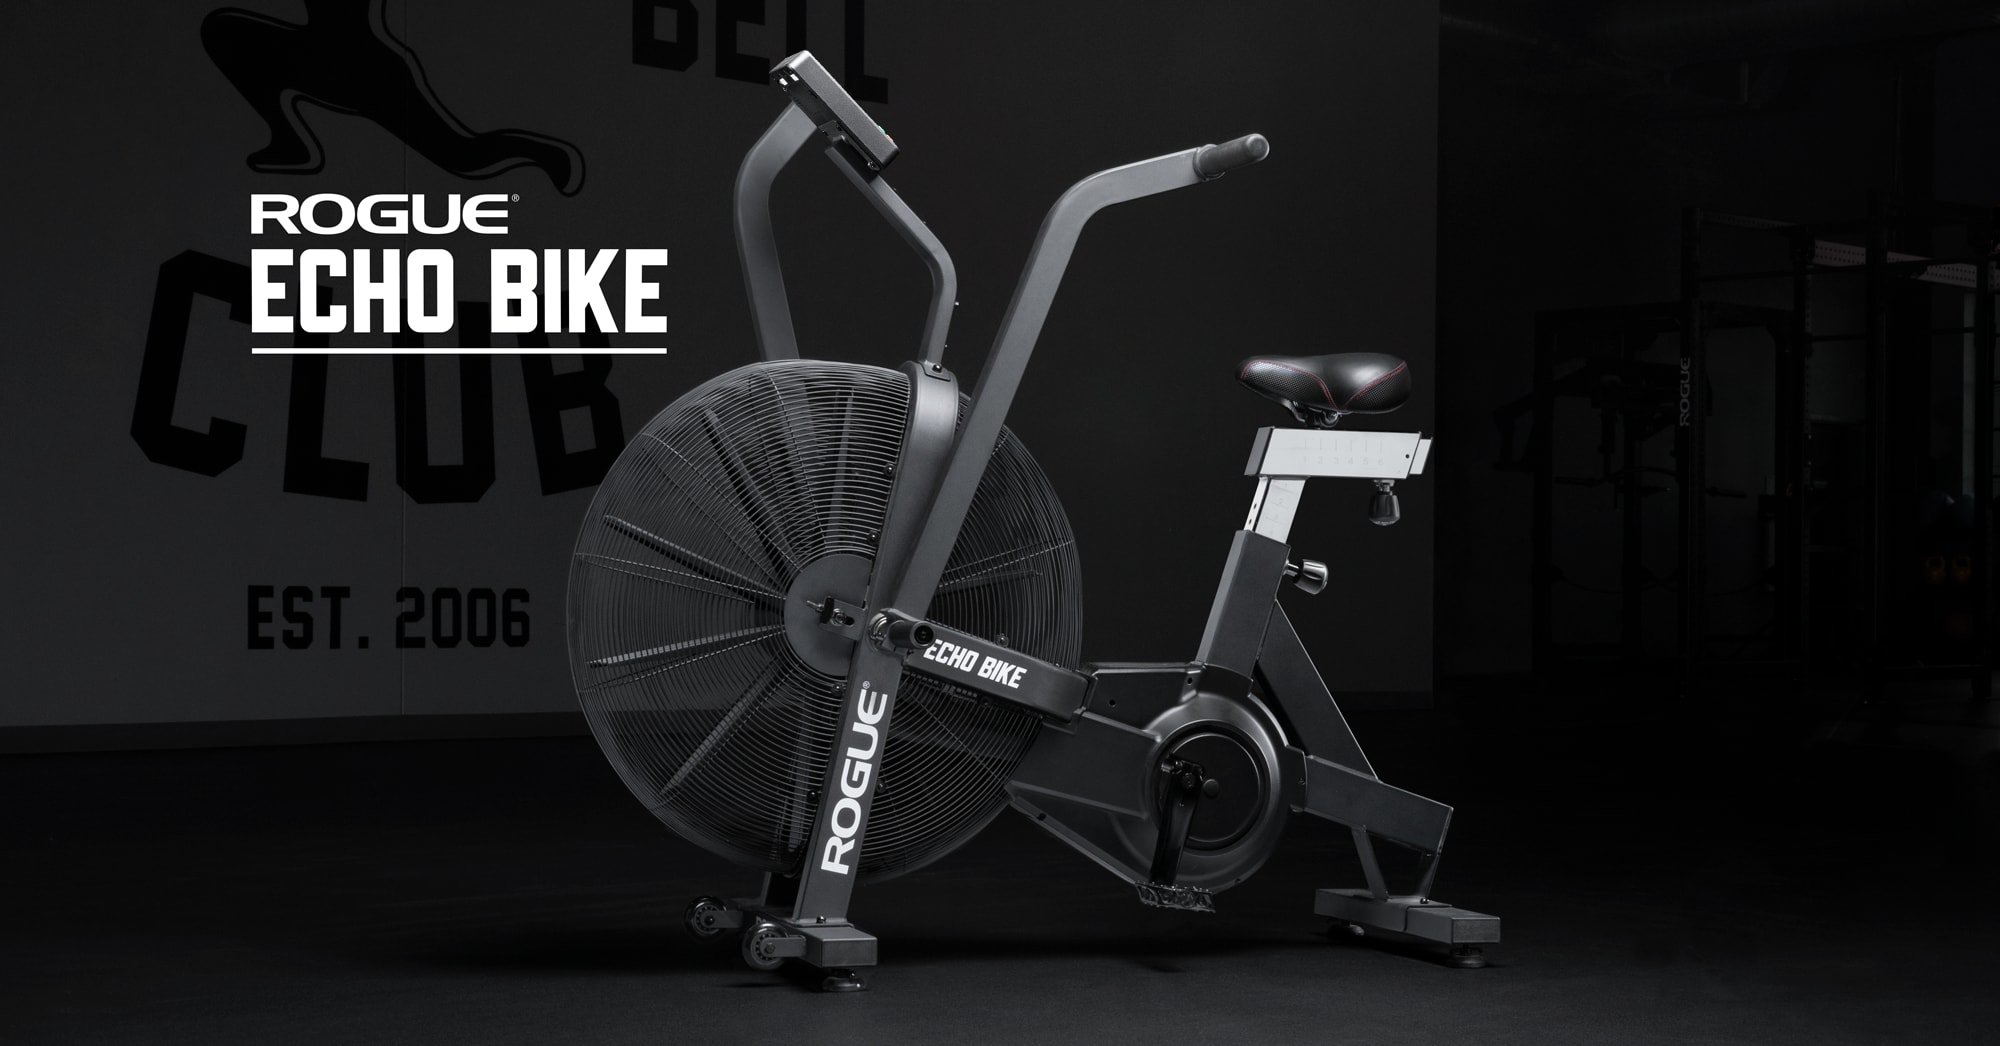
- Resistance increases as you pedal harder
- Very stable during intense efforts
- Adjustable seat works for different body sizes
- Console tracks useful conditioning metrics
- Useful for HIIT, warm-ups, cool-downs, and hard cardio
- Not designed for a light or relaxed ride
- Air resistance becomes brutally hard when you push the pace

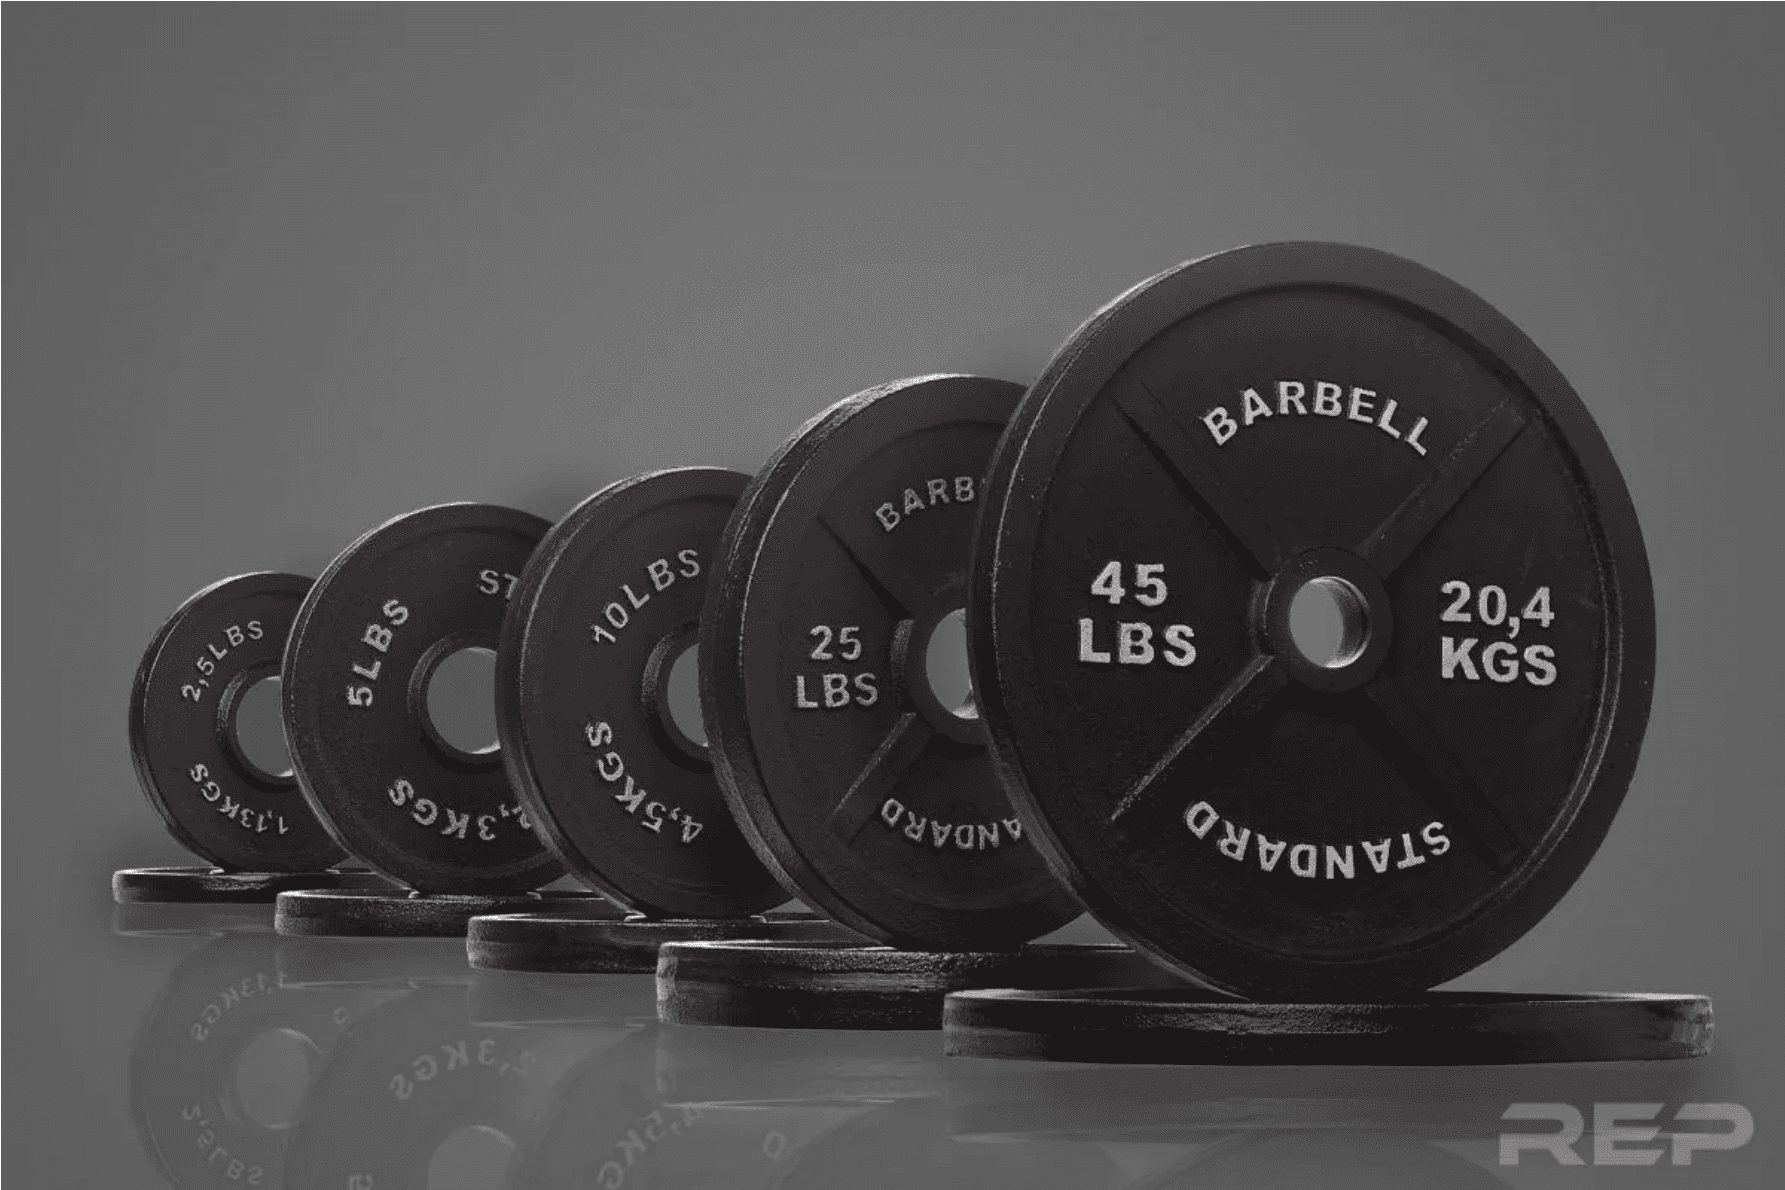
- Low cost per pound
- Standard full-size 45 lb plate diameter
- Simple traditional iron-plate design
- Article feedback noted a better-than-expected finish for the price
- Not a calibrated competition plate
- Fewer premium finishing features than higher-end iron plates
Step 3 – Continue Adding High Value Equipment
These items aren’t essential from the start, but they offer great value in diversifying your workouts and targeting different muscle groups.
Dumbbells
Dumbbells are incredibly versatile and allow for a wide range of exercises.
They’re perfect for isolation exercises, compound movements, and can greatly enhance your strength training routine.
Fixed dumbbells offer convenience, while adjustable ones save space and provide flexibility in weight selection.
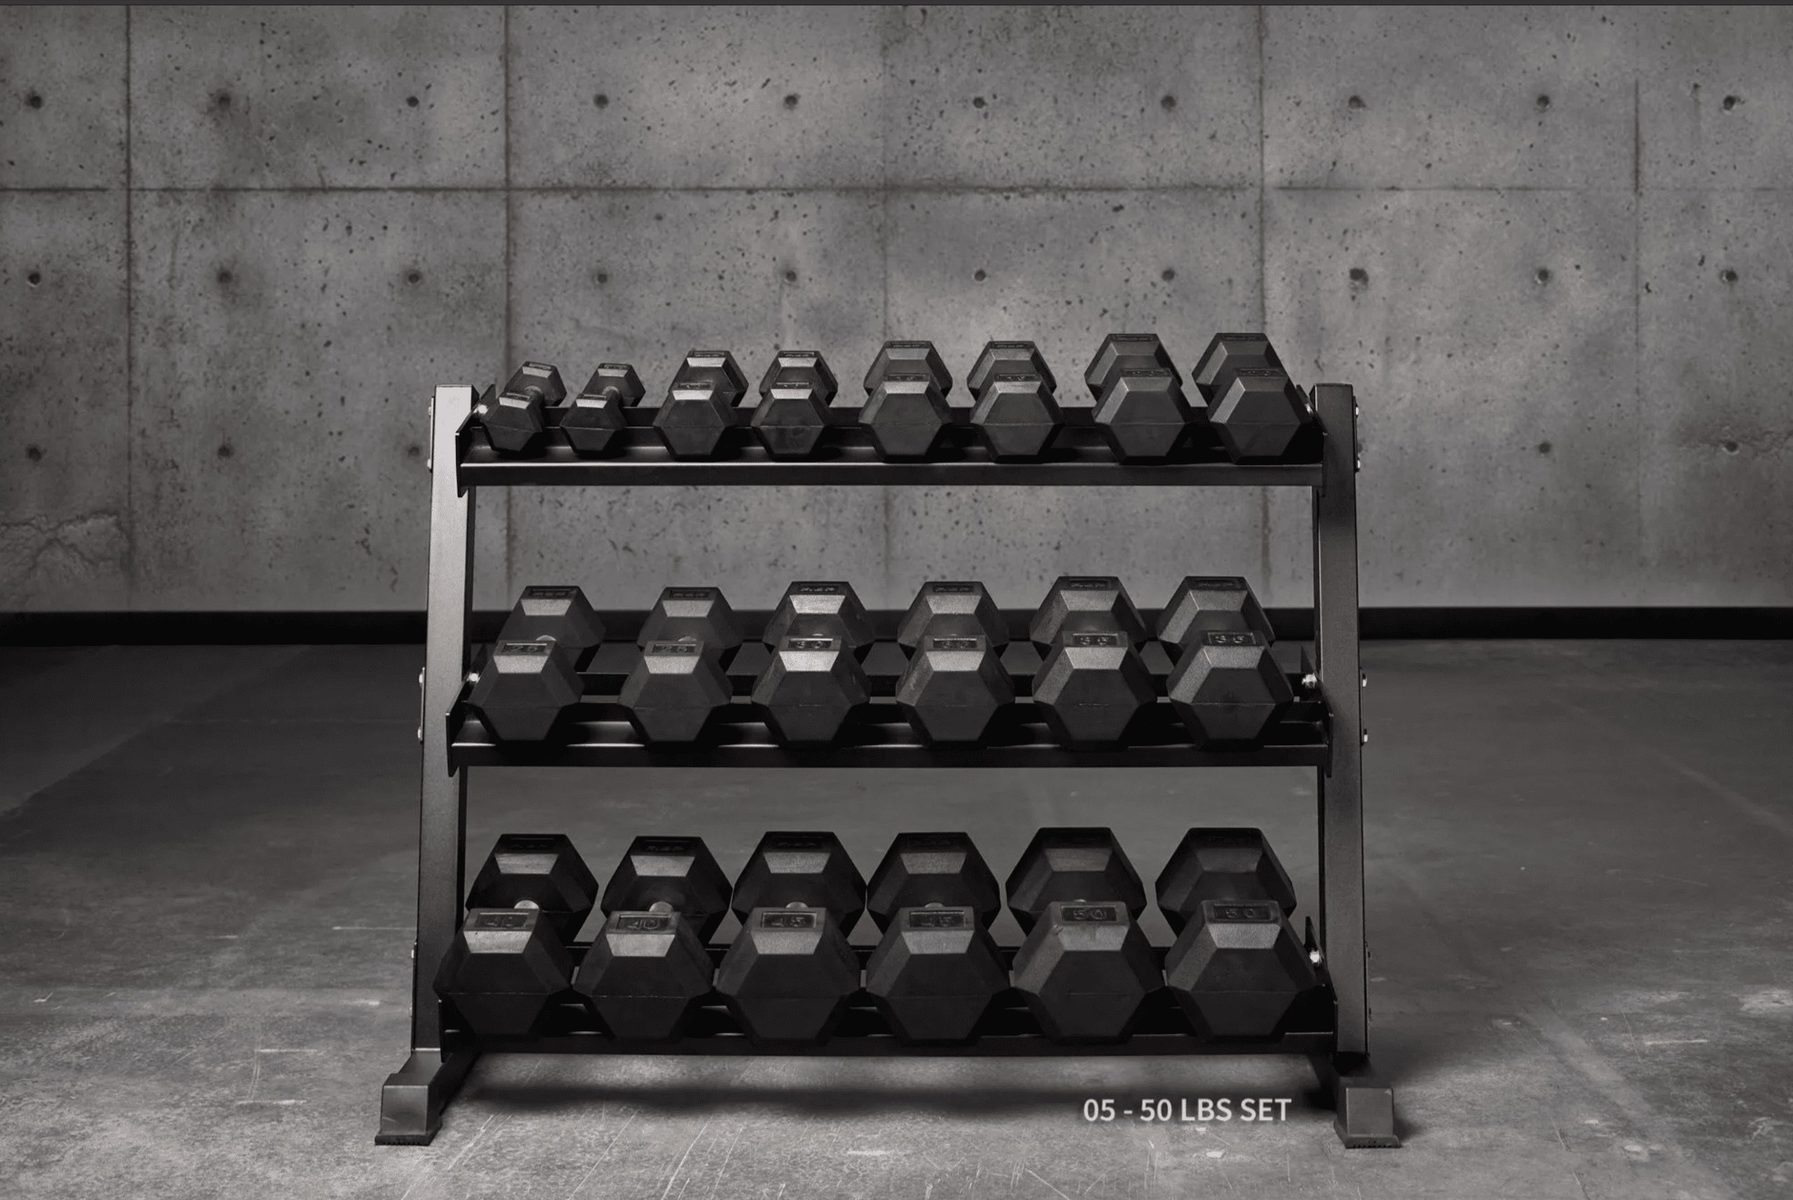
- Fully knurled handles
- Hex heads do not roll between sets
- Much cheaper than REP's urethane dumbbell line
- Traditional fixed-dumbbell feel
- Available as a broad 5-100 lb set
- Rubber is less abrasion-resistant than urethane
- A full fixed set takes substantially more space than adjustable dumbbells
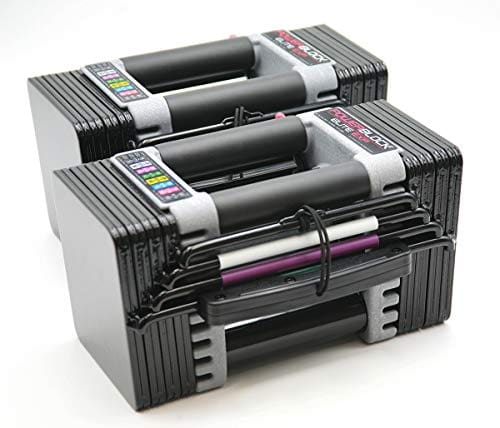
- Fast selector-pin weight changes
- Expandable from 50 lb up to 90 lb
- Heavy-duty steel construction
- Very durable compared with plastic-heavy designs
- Saves substantial space over fixed dumbbells
- Good fit for presses, curls, and most basic dumbbell work
- Not as fast to adjust as NÜOBELL
- Enclosed handle design can feel awkward on some exercises
- Weight-increment options are less flexible than some competing systems
Kettlebells
Kettlebells are fantastic for dynamic, full-body workouts. They’re great for building strength, improving endurance, and enhancing grip strength.
If you’re deciding between them and a barbell, my barbell vs kettlebell comparison breaks down the tradeoffs.
They add a different dimension to your training, especially with movements like swings, snatches, and Turkish get-ups.
Bands
Resistance bands are a must-have for adding variety to your workouts. They’re perfect for warm-ups, stretching, and resistance training.
Bands are also great for targeting smaller muscle groups and can be used for rehabilitation exercises.
Specialty Bars
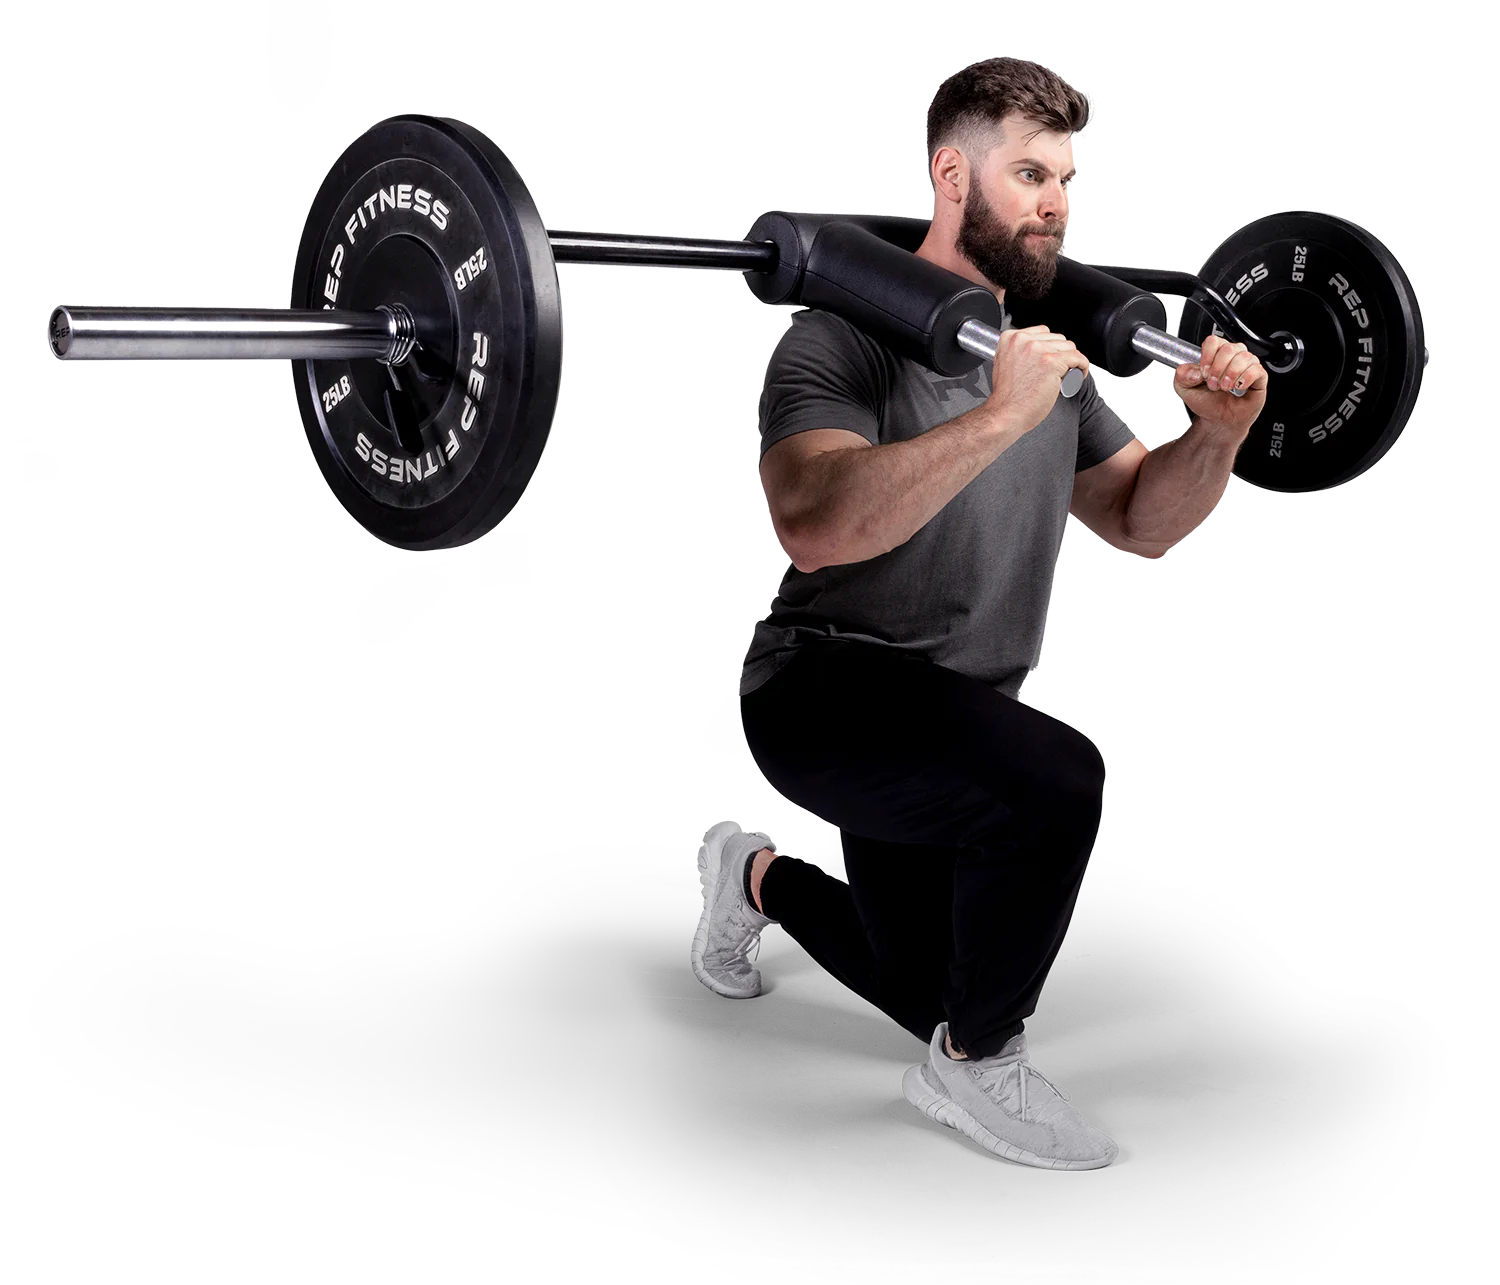
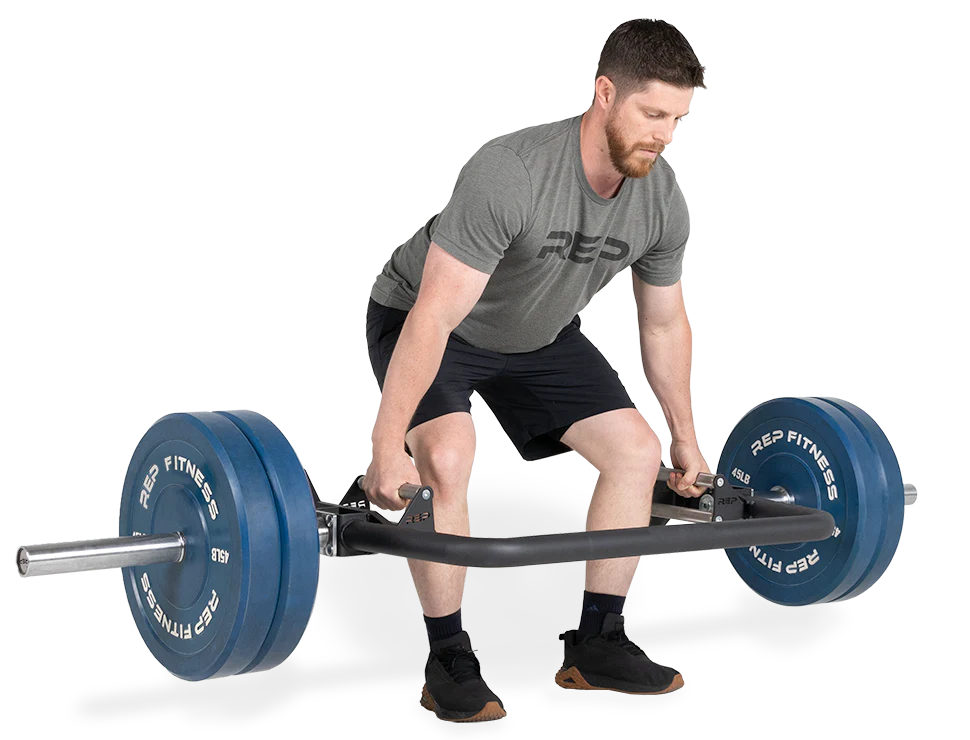
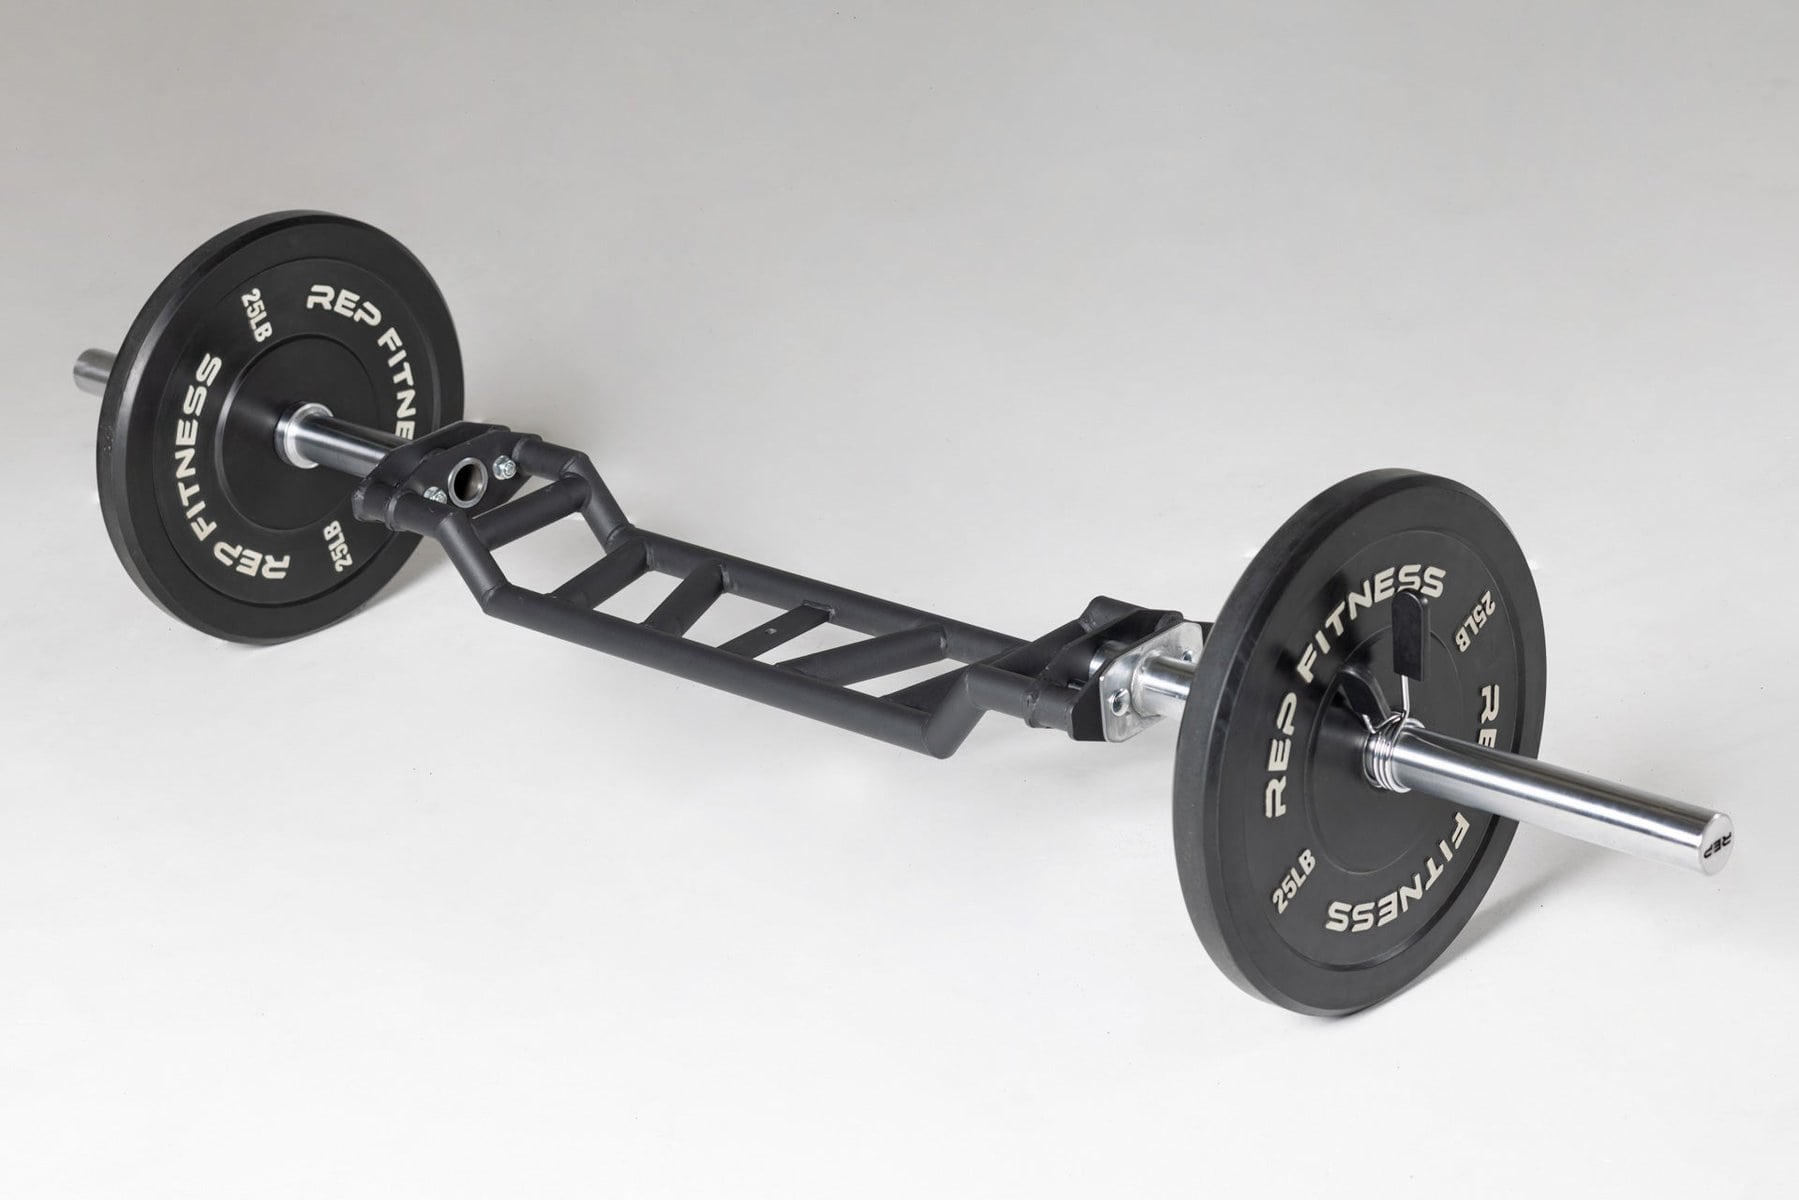
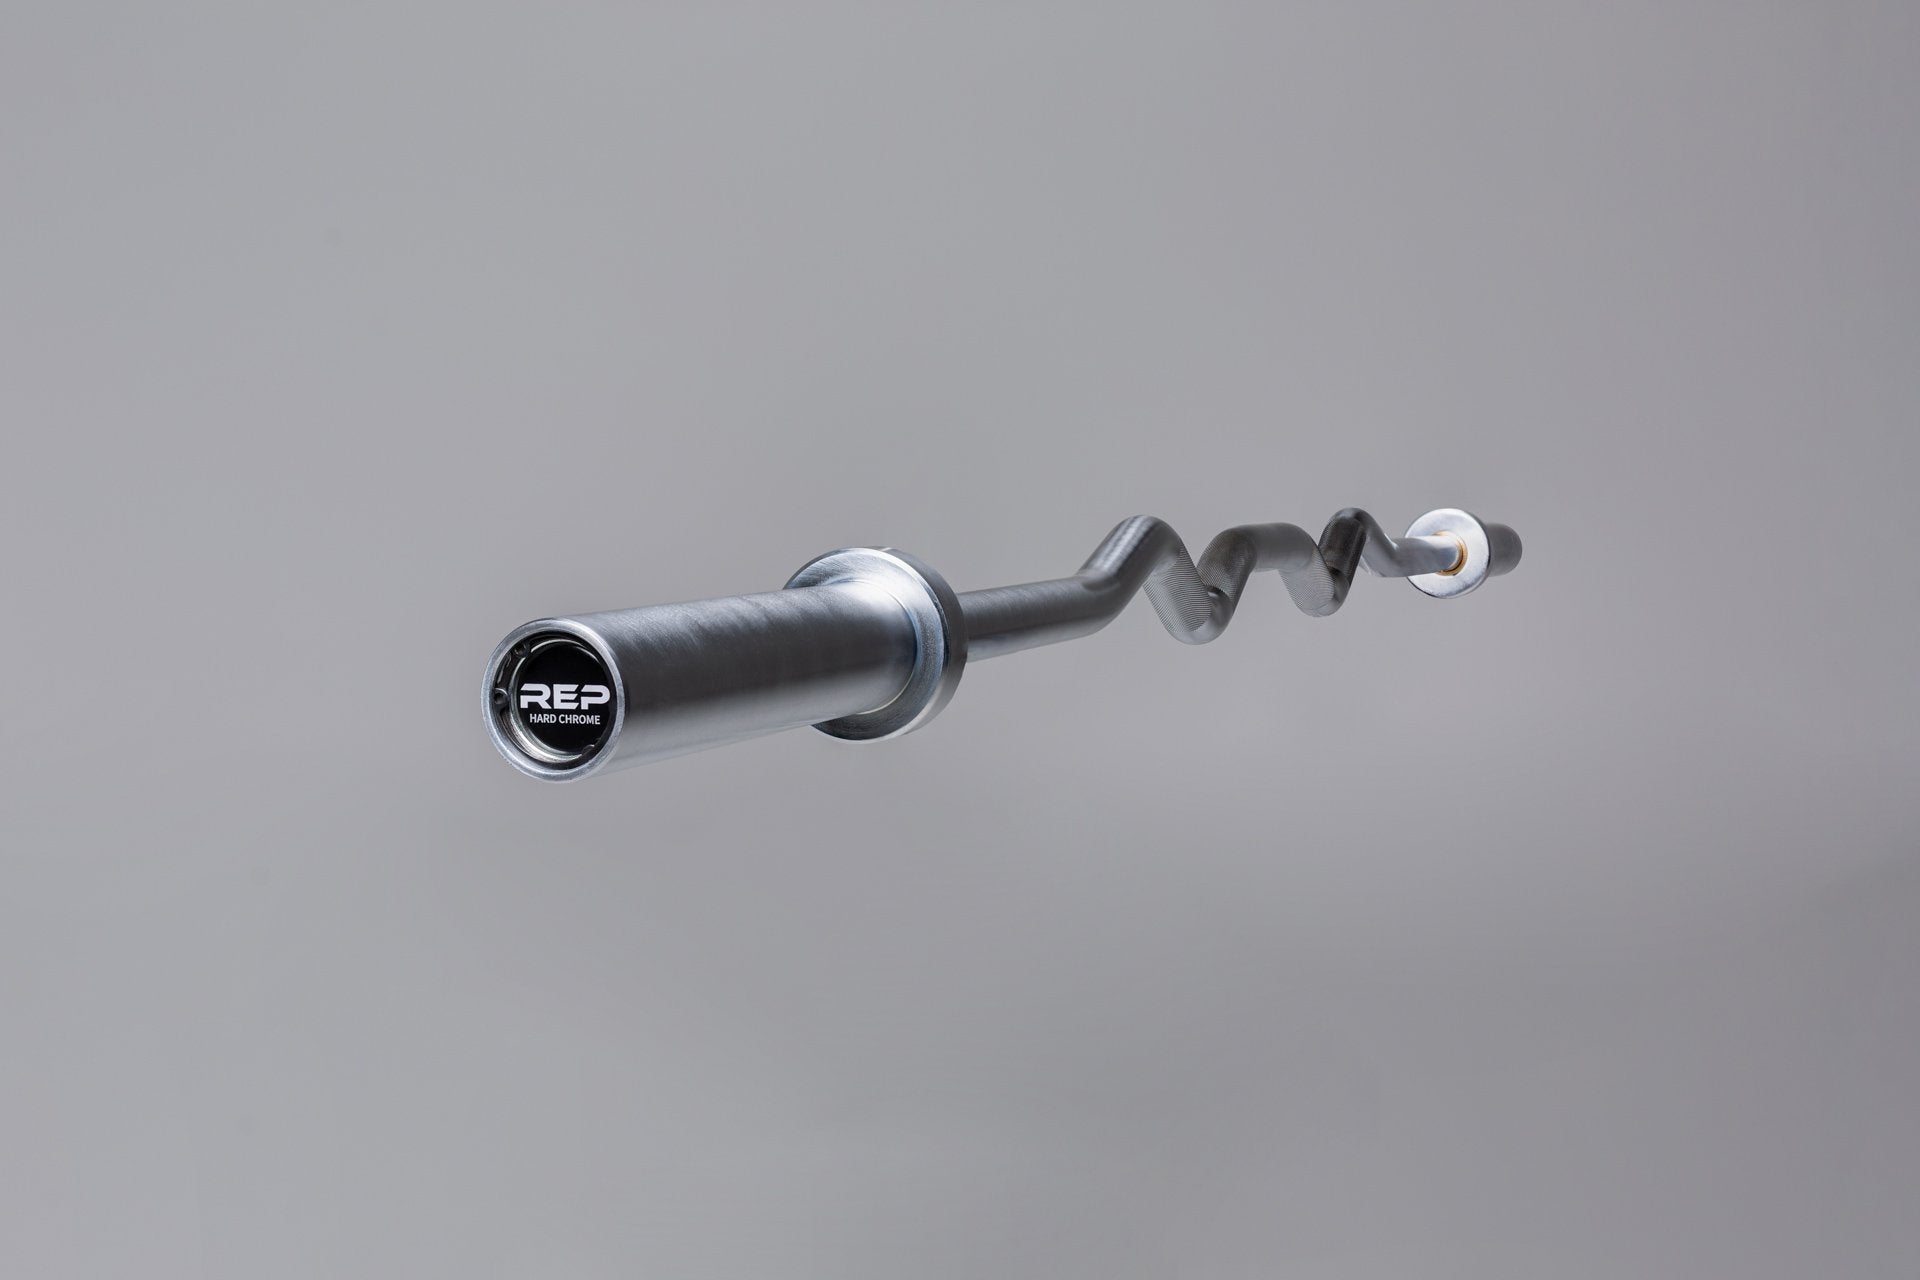
Specialty bars, like safety squat bars, trap bars, and multi-grip bars, offer unique benefits.
They allow for different grip positions, reduce strain on certain body parts, and can help you overcome plateaus by adding barbell variations to your training.
Rack Attachments
Here are the ones that I recommend you look into as the power rack you choose will only be compatible with a certain ecosystem.
If you get a 2×3″ rack, that isn’t going to work with 3×3″ racks without an adapter.
And even then, you can’t just grab a Rep pulldown system and add it to another rack as the dimensions will be off.
So here is a small list of the ones you should look into for your rack on your own.
- Lat Pulldown
- Leg Roller
- Utility Seat
- Lever Arms
As for specific options for 3×3″ racks, these spotter arms are in a class of their own.
This dip attachment made by Mutant Metals is also incredible. It cost a ton, but it’s just a guy in his garage which is insane considering the quality.
I also highly recommend their stainless steel handles for lever arms as they completely dominate any generic ones offered by the competition.
Plus, the knurling is beautiful and feels amazing in your hands.
I just recommend you check them out in general as supporting small businesses that have this much skill is super important for this industry.
Tips For Picking Equipment
I’ve been buying home gym equipment for the past decade and have made both good and bad decisions in that time.
That’s why I’ll help you pick the best equipment the first time so you can save time and money.
These pointers will help you make informed decisions, ensuring you get the best value and quality for your investment.
Buy Used If Possible
Buying used equipment can save you a significant amount of money. Often, you can find high-quality gear that’s barely been used at a fraction of the cost of new items.
Just make sure to inspect the equipment thoroughly for any wear and tear before purchasing.
Prioritize High Versatility Options First
When space and budget are limited, go for equipment that offers high versatility. This means choosing items that allow for a variety of exercises.
It’s all about getting the most bang for your buck and making the most out of every square inch of your gym space.
Invest In Reputable Brands
Quality and durability are key in gym equipment. Investing in reputable brands means you’re less likely to encounter issues down the line.
These brands have a track record of reliability and customer satisfaction. Here are some top-notch brands to consider:
- Rogue Fitness
- Eleiko
- American Barbell
- Kabuki Strength
- Rep Fitness
- Titan Fitness
- Fringe Sport
- Bells Of Steel
- …and more!
Remember, the right equipment is an investment in your health and fitness journey.
By following these tips, you’ll be well on your way to building a home gym that’s both effective and enjoyable.
Mistakes To Avoid
Let’s highlight some common pitfalls to avoid when setting up your home gym.
I’ve made a couple of these mistakes myself so trust me on this, steering clear of these mistakes will save you time, money, and frustration.
- Don’t Buy Equipment With A Single Function – Equipment that serves only one purpose can quickly clutter your space and isn’t cost-effective. Opt for versatile gear that allows for multiple exercises. This approach maximizes your space and training options.
- Picking A Crappy Rack – Your power rack is the cornerstone of your home gym. Choosing a low-quality rack not only limits your exercise options but can also be a safety hazard. Invest in a sturdy, well-built rack that can handle heavy loads and offers versatility.
- Guessing About Your Available Training Space – Underestimating or overestimating your available space can lead to impractical equipment choices. Measure your space accurately and plan accordingly. This ensures that your gym is not only functional but also comfortable and safe.
- Waiting To Get Good Flooring – Proper flooring is crucial from the get-go. It protects your equipment, your floors, and most importantly, you. Good flooring provides stability, reduces noise, and can prevent injuries. Don’t skimp on this foundational aspect of your gym setup.
Home Gym vs. Commercial Gym Costs
Let’s get real about the home gym vs. commercial gym debate. I’m going to lay it out for you, no fluff, just the straight-up facts.
The Typical Gym Experience
Imagine this: You’re changing into your gym gear, packing your bag with all the essentials – supplements, shakers, the works.
Then, it’s off to the gym, where you wait for the squat rack to free up while dodging the social butterfly who doesn’t seem to lift much but sure loves to chat.
Two hours later, you’re finally heading home, thinking, “Could’ve wrapped this up in 45 minutes.”
The Home Gym Life
Now picture this: You’re in your home, shorts on, no shirt needed. You stroll into your garage, crank up your tunes, and get down to business.
An hour later, you’re done. No drive, no wait, no chit-chat. Whether it’s a quick 15-minute blast or a 3-hour marathon session, it’s all about your schedule, your pace.
Crunching the Numbers: Costs of a Commercial Gym
Let’s talk money. The average gym membership in the U.S. was about $58/month back in 2013.
That’s nearly $700 a year, and over a decade, you’re looking at almost $7,000 – and that’s not even counting the extra costs like gas and time wasted.
CrossFit boxes? Even pricier. We’re talking $1,500 a year, which hits $15,000 over ten years. Sure, you get coaching and a community, but there are cheaper ways to get that.
The Home Gym Investment
Starting a home gym can range from $500 to $3,000, depending on how fancy you want to get. But remember, this gear is yours forever.
No rental, no monthly fees. And if you’re savvy, you can score some great deals on second-hand equipment.
Let’s Break It Down
Here’s a rough idea of what you might spend:
- Budget Home Gym – Around $500
- Mid-Range Home Gym – About $1,500
- High-End Home Gym – Could be $2,500 or more
The Long-Term View
Over ten years, even a high-end home gym setup is likely to cost you less than a commercial gym membership.
And that’s not even factoring in the time you save and the convenience of having everything at your fingertips.
So, there you have it. Whether you’re a lone wolf in the garage or a social butterfly at the local gym, it’s all about what works for you, both in terms of fitness and finances.
Home gyms offer a great mix of convenience, cost-effectiveness, and personalization, but it’s all about finding that sweet spot that fits your lifestyle.
Why You NEED a Home Gym
Alright, let’s go over why absolutely need a home gym.
I’m not just talking about the usual perks; I’ll go over the real, no-nonsense reasons that’ll have you setting up your own workout haven in no time.
Let’s roll!
Saves Time & Money
Think about it. No more commuting to the gym, no more waiting for equipment, and definitely no more monthly membership fees draining your wallet.
Your home gym is a one-time investment that you can upgrade at your own pace. It’ll continue to give you value in time and money saved for years to come!
Helps Avoid Distractions
Say goodbye to the people that are just their to socialize and the endless parade of distractions.
At home, it’s just you, your goals, and your workout. No more interruptions, no more waiting for somebody on their phone to finish his set.
Built For You, By You
Your home gym is like a tailor-made suit; it fits you perfectly. You choose the equipment based on your needs, your space, and your goals.
It’s your personal fitness sanctuary, built by you, for you.
No Excuses Except The Bullshit Ones You Tell Yourself
Let’s face it, the only excuses in a home gym are the ones you cook up yourself. No gym hours to blame and no bad weather excuses.
It’s all on you, buddy. Time to face the music and get lifting!
Nobody Watching You Workout
Working out without an audience is a game-changer. No one’s watching, judging, or waiting for you to finish. It’s just you, your sweat, and your weights.
No More Swapping Sweat With Other Lifters
Shared gym equipment can be… well, gross. At home, the only sweat you’ll encounter is your own. No more wondering who left the bench all sweaty. It’s all clean, all yours.
No Rules, No Shirts, No Problems
Want to lift shirtless? Blast your music? Drop weights without dirty looks? In your home gym, you’re the boss. No dress code, no volume limits, no rules but your own.
In a nutshell, a home gym isn’t just a convenience; it’s a revolution in your training journey. It’s about taking control, eliminating excuses, and creating a space that’s uniquely yours.
So, what are you waiting for?
Where Can You Build A Home Gym?
Choosing where to build your home gym is crucial. It’s more than just a space – it’s where you’ll challenge yourself and grow stronger.
Let’s pinpoint the perfect place for your personal fitness haven!
Garage Of Course!
Of course, the garage! It’s like the holy grail of home gyms. Spacious, a bit rugged, and you can grunt as loud as you want without scaring the neighbors.
Plus, you get to feel like a badass every time you lift that garage door.
Your Moms Basement
Don’t knock it till you’ve tried it. Your mom’s basement can be a goldmine for a home gym.
It’s out of the way, usually spacious, and hey, you might find some old treasures down there to sell for extra gym equipment cash!
Obviously, I’m just kidding with the “your mom” joke but still, a basement gym is totally an option.
Spare Guest Room No One Uses
You know, the one that’s collecting dust and random junk? Time to clear it out and transform it into your personal home gym.
It’s perfect for those who don’t have a lot of space but are big on ambition.
The Great Outdoors
Who says you need four walls? Set up some outdoor equipment and breathe in that fresh air while you work out.
It’s invigorating, inspiring, and hey, you might even get a tan while you’re at it.
Conclusion
So, there you have it. Your guide to building a home gym that’s not just a collection of equipment, but a reflection of your commitment to smashing those training goals.
Remember, it’s not just about the gear; it’s about the grit and grind that goes into every set and rep.
Hopefully this helped guide you to building your own dream home gym.
Until next time,
-Dante
Buy It, Wait, or Skip It?
Use the same simple scorecard for racks, barbells, benches, dumbbells, machines, attachments, and accessories before they take your money and floor space.
Score My Next Purchase →
0 Comments
Sort by